3d virtual tour camera
3D Virtual Tour Camera Guide: Models, Specs, and Workflows
Compare the best 3D virtual tour camera options, specs, and workflows. Learn how cameras integrate with staging and content tools
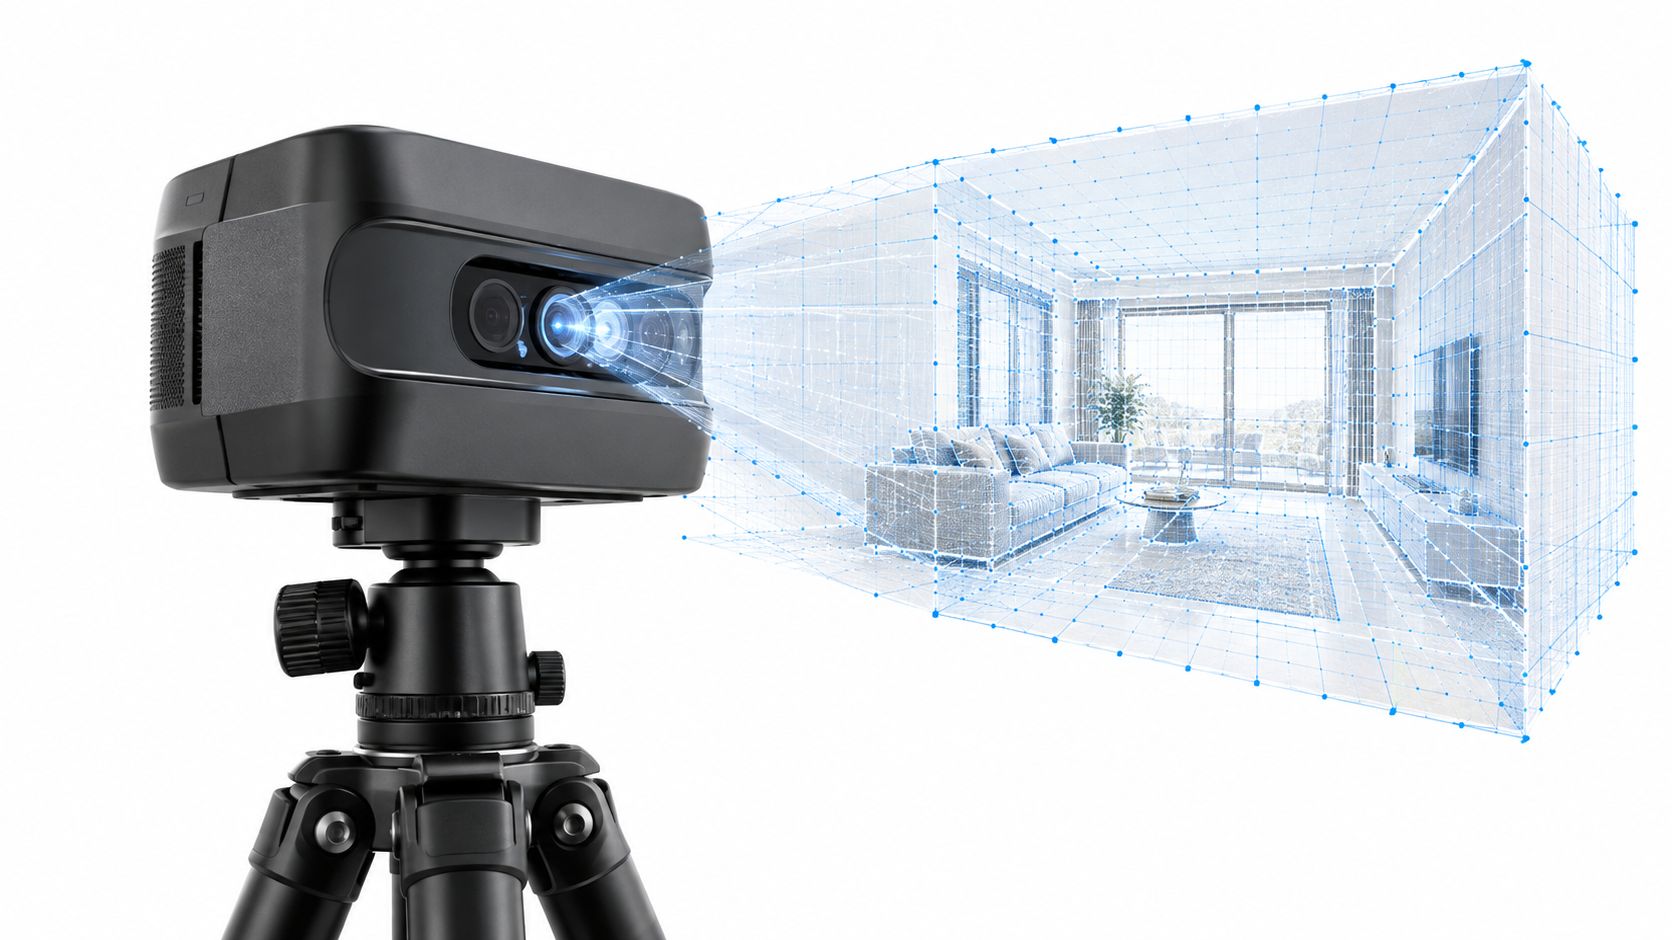
You're on a Tuesday call with a client who wants a property tour live by Friday and a showroom walkthrough by Monday. The pressure isn't really about “getting a 3D camera,” it's about choosing the right output, so you don't waste money on hardware that looks impressive on a spec sheet but misses the deliverable you need.
| Camera class | What it captures | Best result | Where it falls short |
|---|---|---|---|
| 360 camera | A spherical image from one position | Fast immersive walkthroughs | No measurement data by default |
| LiDAR 3D camera | Depth and spatial geometry | Floor plans, dollhouse views, measurements | Costs more, heavier workflow |
| Structured-light scanner | Projected pattern depth capture | Indoor geometry and documentation | Less flexible for casual marketing |
| Smartphone depth workflow | Phone-based depth or image fusion | Low-friction capture and quick jobs | Accuracy depends on method and setup |
The right 3D virtual tour camera isn't a single product category. It's a decision about whether you need marketing immersion, measurement-grade geometry, or both, and that choice changes everything from capture speed to how the file gets used later in staging, commerce, or AI workspaces.
Table of Contents
- What a 3D Virtual Tour Camera Delivers
- The Main Camera Types and How They Capture Space
- Comparing the Flagship 3D Virtual Tour Camera Models
- When Accuracy Matters More Than Immersion
- A Repeatable Capture to Publish Workflow
- How 3D Captures Feed Virtual Staging and AI Workspaces
- Choosing the Right Camera for Your Use Case
- Cost, Integration, and Common Questions
What a 3D Virtual Tour Camera Delivers
A lot of teams buy the wrong tool because they start with the camera instead of the deliverable. I've seen crews arrive with a consumer 360 camera, then act surprised when the result looks polished in a browser but cannot support room measurements, a dollhouse view, or a floor plan a broker can trust. The camera did its job. The planning did not.
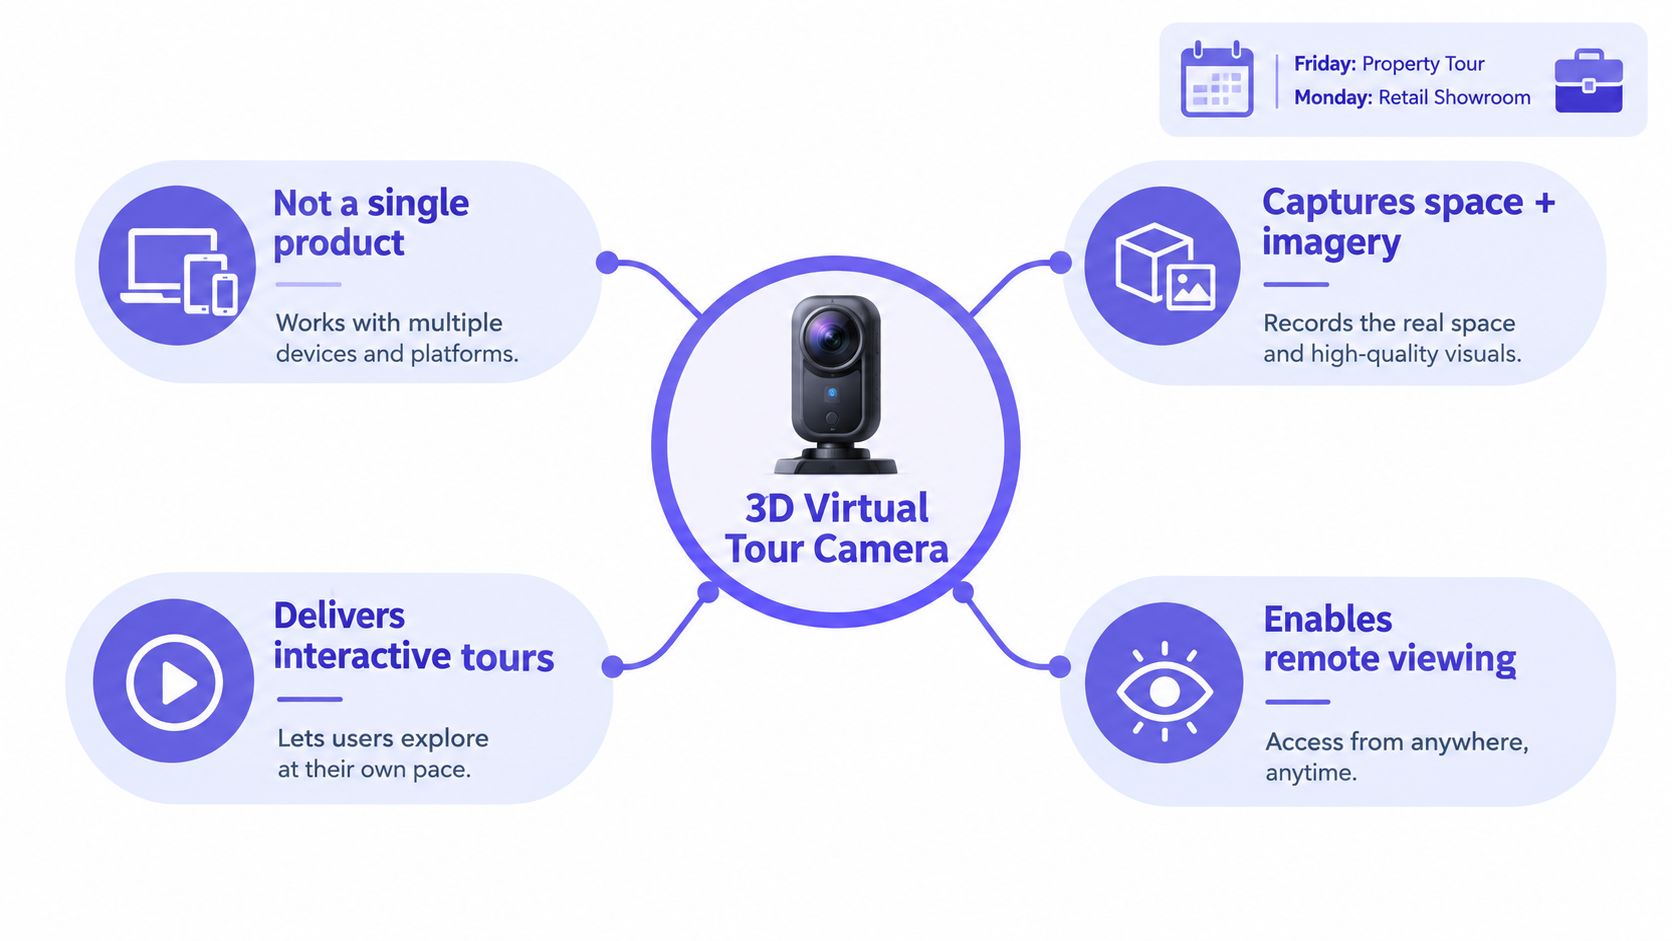
A 360 camera records the space from a single point, then software stitches that capture into an interactive sphere. Use it when the job is to let someone look around, move between spaces, and get a clear feel for a property or showroom from afar. A LiDAR-equipped device or structured-light scanner does something different. It captures depth, so the output can support geometry, not just visuals.
What buyers usually confuse
The common mistake is treating “3D” as a buzzword instead of a deliverable. A marketing team may only need an interactive walkthrough, while a renovation consultant needs geometry that supports layout decisions, and a retailer may want a capture that later feeds product staging or merchandising mockups.
Practical rule: if the final output needs a measurement, buy for depth capture first. If the final output needs persuasion, buy for immersion first.
Matterport's history shows how this category moved from a specialist workflow into mainstream use, with the company reporting more than 250,000 3D spaces and over 75 million views by September 2016, plus more than 1% of U.S. homes sold that year captured in 3D with its technology. Matterport's 250,000-space milestone marks the shift from novelty to operational workflow.
That is the line I draw for clients: immersive tour, measurable model, or both. If you cannot say which one you are paying for, you are shopping for the wrong machine.
The Main Camera Types and How They Capture Space
360 capture and image stitching
A 360 camera is the simplest path into this work. Two or more ultra-wide lenses capture overlapping views, then software stitches them into a sphere the viewer can explore. It's fast, relatively portable, and good enough for listings, venues, and retail spaces where the goal is orientation rather than dimensioning.
LiDAR and structured depth
A LiDAR unit sends out depth information and builds a point cloud, which is why it's the stronger choice for geometry-heavy jobs. Structured-light systems do something similar indoors by projecting patterns and reading how they deform across surfaces. Both methods produce a much more useful file when the output needs floor plans, clearance checks, or accurate spatial references.
Smartphone-based workflows
Phone-based depth capture is the lightest option operationally, especially when a team wants a quick capture without carrying dedicated hardware. It's convenient, but convenience is not accuracy. A smartphone workflow can be enough for previews, fast content creation, and low-stakes documentation, but it's not the first thing I'd hand to a client expecting reliable spatial data.
The capture method changes more than the image. It affects file size, processing time, reflective-surface behavior, and the amount of cleanup you'll need before publishing. Glass, mirrors, glossy tables, and screens can become trouble spots, which is why capture discipline matters as much as the device itself.
My take: choose the capture method based on what the client will do with the file next, not on the marketing name on the box.
For teams that care about how a capture feeds into later content, this distinction matters. A marketing-friendly sphere might be perfect for an embedded tour, while a depth-rich model can support downstream staging, measurement review, or AI-assisted creative work. The method has to match the workflow, not the other way around.
Comparing the Flagship 3D Virtual Tour Camera Models
If the deliverable is a polished walkthrough, a 360 camera can do the job quickly. If the deliverable is measurement-grade geometry, pick hardware that captures depth you can trust. That decision affects everything downstream, from floor-plan confidence to whether the scan can support virtual staging or AI try-on workspaces without a lot of manual cleanup.
| Camera | Capture Method | Depth Points / Accuracy | FOV | Best Fit |
|---|---|---|---|---|
| Matterport Pro3 | LiDAR | Approximately 100,000 depth points per second, up to 1.5 million range points per scan, raw-depth accuracy of about ±20 mm at 10 m | 360° horizontal, 295° vertical | Large interiors, retail, architecture, measurement-aware workflows |
| Insta360 X Series with Matterport compatibility | 360 capture | Best used for immersive tours, not geometry-first measurement | Wide 360 coverage | Fast residential and marketing walkthroughs |
| Ricoh Theta | 360 capture | Strong tour output for standard listing workflows | Wide 360 coverage | Real-estate imaging with simple, clean capture |
| iPhone LiDAR workflow | Phone-based depth capture | Useful for quick depth-enabled scans, but workflow discipline matters | Phone-dependent | Low-friction scanning and team portability |
The Matterport Pro3 is the serious choice here because it is built for output that needs usable depth, not just attractive visuals. Its published specs list 100,000 depth points per second, up to 1.5 million range points per scan, and ±20 mm at 10 m raw-depth accuracy, which is the kind of envelope you plan around if the scan will feed measurement review or downstream spatial work. Matterport Pro3 specs
The 360 cameras sit in a different lane. They are the better fit when the priority is speed, light gear, and a clean tour that gets published fast. In practice, that means less friction on site and fewer delays in post, which is why they stay popular for listings and other marketing-first jobs.
I would sort the purchase decision like this. Solo real-estate operators should buy the simplest 360 workflow they will use every week. Retail and architecture teams should pay for depth capture when the files will be reused for planning, documentation, or spatial analysis. Mixed teams should separate the tour camera from the measurement camera instead of asking one box to do both jobs badly.
When Accuracy Matters More Than Immersion
A 360 camera can make a space look navigable, but it doesn't automatically make it measurable. That distinction matters in renovation, insurance, accessibility planning, and legal documentation, where confidence in dimensions matters more than a polished user experience.
The error problem nobody talks about
Image-derived floor plans can carry roughly 4 to 8% error, while dedicated structured-light and LiDAR workflows can reduce uncertainty to about 0.1 to 1% in cited examples. Square-footage error can be about twice the floor-plan error, which is exactly why casual “close enough” capture can become expensive later. Measurement trade-offs in 3D tour workflows
That's why I don't like the lazy pitch that says any 360 camera can do everything. It can't. A camera optimized for visual immersion is often perfectly fine for marketing, but the second a client wants dimensions to support a decision, you need a different level of capture discipline.
What to choose for each job
- Marketing listings: use immersive capture first, because buyers need orientation and confidence before they need precision.
- Renovation and insurance: use depth-capable capture, because the file has to support decisions, not just browsing.
- Accessibility planning: use calibrated depth workflows and verify the result, because small mistakes become real-world barriers.
- Inventory or compliance records: don't trust image-only capture to carry the whole job.
Bottom line: choose the output first, then buy the camera. If you reverse that order, you end up defending a tool instead of solving a problem.
This is also where a 3D virtual tour camera gets mis-sold. Angle control and perspective tricks improve presentation, but they don't magically create measurement-grade geometry. If depth data isn't captured and calibrated properly, the file should be treated as a visual asset, not a physical record.
A Repeatable Capture to Publish Workflow
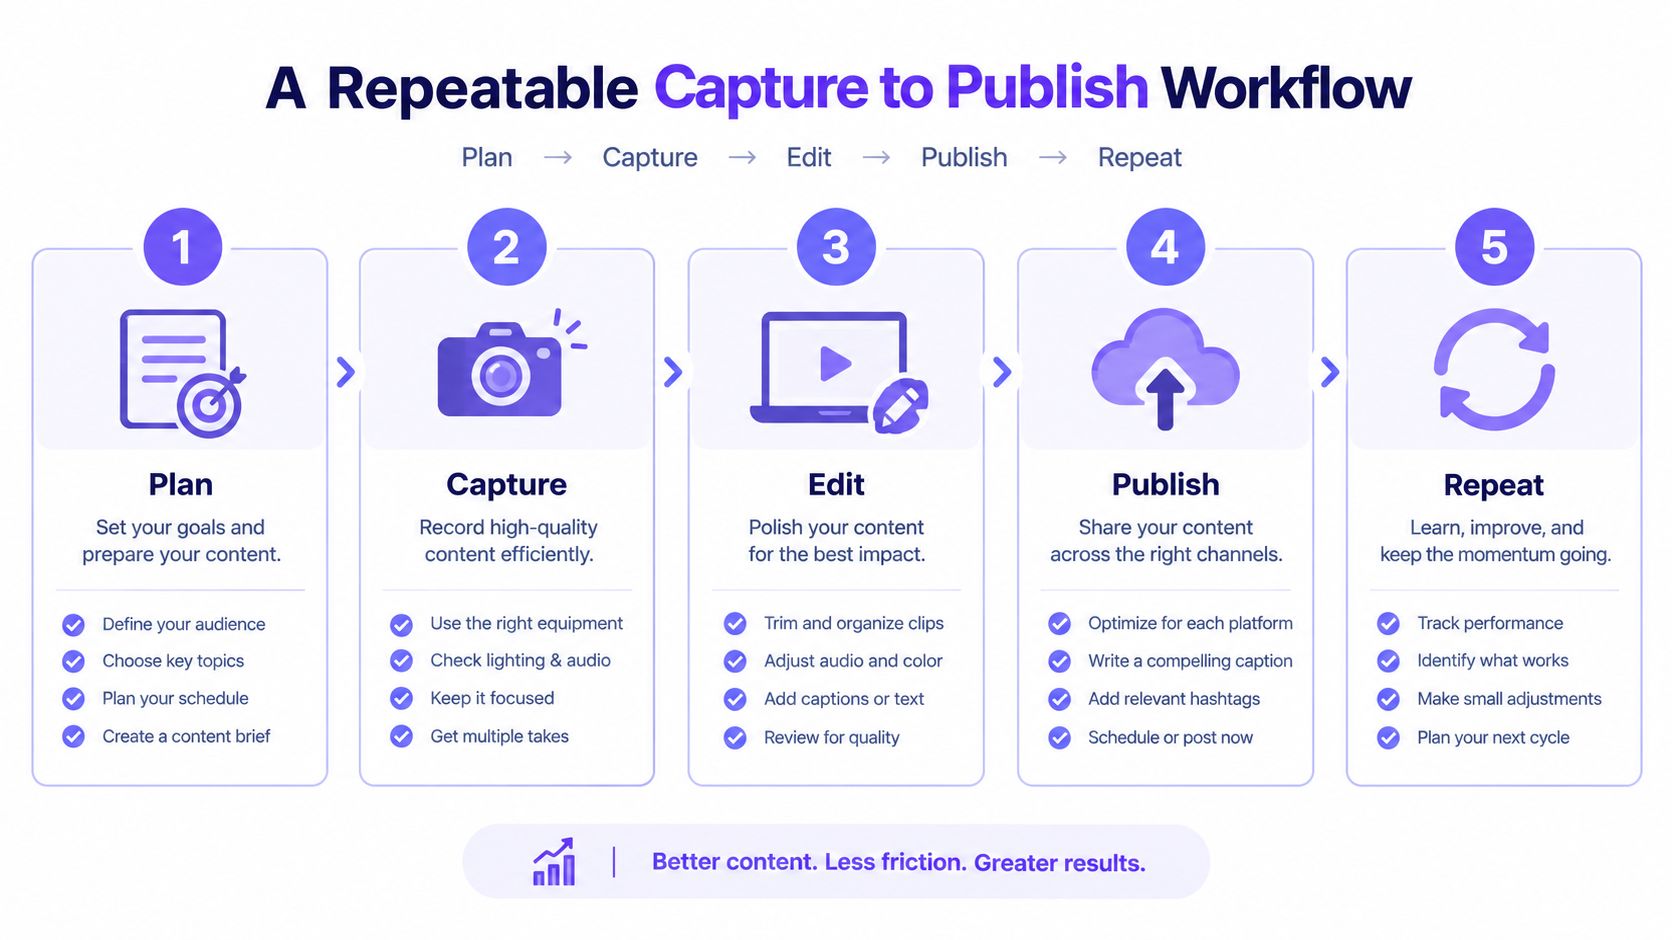
Most virtual-tour failures happen before the first scan. The room is cluttered, reflective surfaces are ignored, and nobody has decided who approves the published version. That's how sensitive details end up online.
The sequence that holds up on site
- Prepare the space. Remove documents, valuables, and clutter before the camera comes out.
- Inspect reflective surfaces. Mirrors, glass tables, windows, and screens can reveal what automatic blurring misses.
- Set capture stations deliberately. Keep movement logical so the final tour feels connected.
- Review on site. Don't leave until you've checked for seam problems, bad exposure, and obvious privacy leaks.
- Publish with control. Use password protection, unlisted access, or a gated link when the space demands it.
The privacy piece isn't optional. A review of 44 virtual tours across 44 U.S. states found exposed personal data like names on mail, passwords on whiteboards, credit-card numbers, diplomas, security layouts, and occupancy clues, all visible to internet users. Virtual tour privacy review That's why a human privacy pass has to sit between capture and publication.
What I'd insist on before upload
- Remove sensitive paper: mail, invoices, IDs, contracts, and any document with visible text.
- Check mirrors and screens: reflected laptops, TVs, tablets, and glass surfaces are common misses.
- Confirm occupant consent: don't assume everyone in the space agrees to be scanned.
- Set retention rules: decide who keeps the files and when they're deleted.
- Limit access by default: open publishing is a convenience, not a requirement.
The technical side matters too, but it's easier to standardize. Naming files clearly, keeping room order consistent, and publishing from a controlled hosting workflow saves time on every job. For teams that move assets into ecommerce or listing systems, the same discipline prevents accidental version drift.
For teams that want a different kind of post-shoot workflow, the capture can also feed a product-photography pipeline. A useful reference is the workflow behind Shopify product photography guidance, because the same discipline around staging, naming, and consistent asset handling carries over cleanly.
How 3D Captures Feed Virtual Staging and AI Workspaces
A raw tour file is only half the value. Actual payoff shows up when that capture gets reused instead of archived. That's where virtual staging, room visualization, and ecommerce creative start pulling from the same source asset.
Dollhouse models, floor plans, and panoramic stills can all be repurposed into staging tools that help buyers understand scale and layout. On the retail side, a captured backdrop and stable angle reference can become the starting point for an AI fashion workspace, where the goal isn't to measure the room, it's to place apparel content into a believable scene. For that kind of work, the tour asset is really a composition anchor.
An interactive 3D camera in a fashion or AI workspace controls composition, not physical geometry. That distinction matters. If a team confuses perspective control with true spatial measurement, they end up promising accuracy the system wasn't designed to deliver.
The smartest teams treat captures as modular assets. A single shoot can support property marketing, staged room visuals, retail context images, and content for product storytelling. That's a much better use of time than treating the tour as a one-time listing artifact that gets forgotten after launch.
If you're mapping this into ecommerce production, the useful mental model is simple. Capture once, reuse often, keep the geometry claim honest. That rule keeps creative teams fast without letting marketing language drift into technical overstatement.
For teams building fashion and product workflows, AI tools for ecommerce become more useful when the source imagery is consistent, well-lit, and easy to reuse. That's where a good capture habit pays off well beyond real estate.
Choosing the Right Camera for Your Use Case
For real estate photography, I'd start with a strong 360 camera if the client wants speed and presentation, then move to LiDAR only when floor plans or measurements are part of the contract. That keeps your kit lean and your workflow sane.
For retail and showroom walkthroughs, a depth-capable camera pays off sooner. Showrooms benefit from navigable tours, but they also reward geometry when merchandising teams want to plan spacing, highlight product zones, or reuse the capture in another workflow.
For hospitality and venue tours, immersion is usually the priority, so a polished 360 workflow is often enough. Hotels, event spaces, and campuses care about first impression and orientation, not survey-grade detail on every shoot.
For insurance, documentation, and compliance, I'd skip the consumer-only option and buy for accuracy. If the file may be used to resolve a dispute, support a claim, or document a space change, you want depth data and a capture process people can defend.
Solo shooters should choose the camera that gets used most often. Bigger crews can absorb heavier post-processing, but a one-person operator usually can't. The best camera is the one that survives real deadlines, not the one with the longest feature list.
Cost, Integration, and Common Questions
A cheap camera that doesn't fit your output is expensive in the end. Integration matters too, because the best device is the one that can move cleanly into MLS, a retail CMS, or an AI workspace without extra file wrangling. If the space changes often, plan on rescanning on a maintenance schedule, not pretending the first file stays valid forever.
| Question | Short Answer | When to Revisit |
|---|---|---|
| Is a 360 camera enough for measurements? | No, not by default. | Revisit when the job needs dimensions or documentation. |
| Should I rescan after a space changes? | Yes, if layout, signage, or fixtures shift. | Revisit after any meaningful physical change. |
| Can I combine panoramic imagery with laser scanning? | Yes, and that's often the smarter path. | Revisit when accuracy and immersion both matter. |
| Do I need a dedicated 3D camera for every listing? | No, only when the deliverable needs depth. | Revisit when clients ask for floor plans or geometry. |
If you need developer-level integration for asset workflows, the Vtry AI API documentation is the place to see how structured image and workspace operations get handled programmatically. That kind of integration matters when a team wants captures to move directly into production systems instead of sitting in a folder.
The short answer on cost is this: pay for the output you'll reuse, not the feature count you'll brag about. If the content is mainly marketing, keep it light. If the content has to support decisions, spend for depth and verification.
Vtry AI helps teams turn captured spaces and source images into usable visual assets for commerce, staging, and try-on workflows. If you're deciding how a 3D virtual tour camera should feed the next step in your content pipeline, visit Vtry AI and see how the same capture discipline can support smarter creative production.