AI outfit generator
AI Outfit Generator: How It Works and What to Choose
Learn how an AI outfit generator styles multiple garments, compares model quality, and what to check before publishing product images.
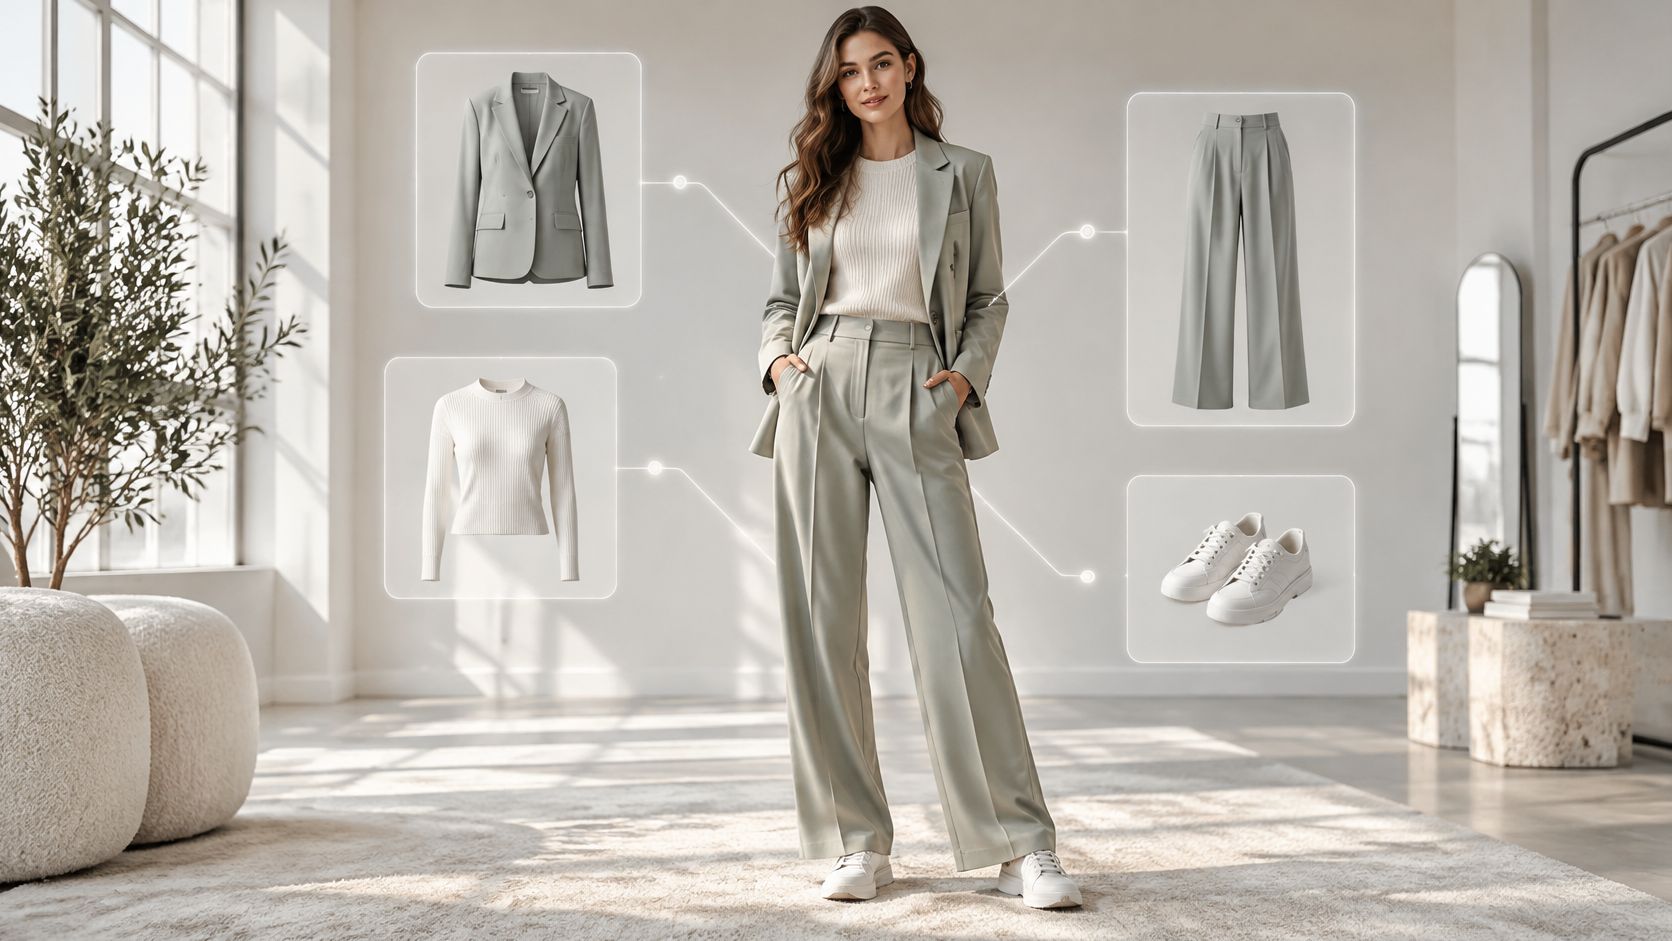
You've got a collection ready to launch, product photos scattered across folders, and a campaign that needs complete looks rather than isolated shirts and trousers. Another shoot would take coordination, but generating attractive images creates a different problem: someone still has to confirm that the clothes, person, and product details are right.
An AI outfit generator can help, provided you treat it as a merchandising and quality-control system, not just a picture maker. The useful output isn't just a convincing outfit. It's an image you can trace to real garments, review against a clear brief, and publish without implying that synthetic styling proves physical fit.
Table of Contents
- What an AI Outfit Generator Produces
- How Multi-Garment Styling Layers an Outfit
- Choosing Between Model Speed and Resemblance
- Quality Checks Before You Publish an Outfit Image
- Using Outfit Images for Merchandising and Social Posts
- Fit and Disclosure Limits to Plan For
- Choose a Model and Run a Small Pilot
What an AI Outfit Generator Produces
An AI outfit generator takes a reference person and garment images and renders them together as a styled picture. Think of it as a digital fitting room where you choose the person and clothes, but receive a generated visualization rather than a measurement-based fitting result.
Say you're preparing a transitional collection. You want the same person wearing a knit, trousers, and a coat, with a consistent camera angle and enough space around the silhouette for a campaign crop.
Inputs and outputs in an AI outfit generator
| Input | What it does | Practical note |
|---|---|---|
| Person | Up to 3 photos or a camera capture, saved for reuse | Clear reference photos help keep the same person across shoots |
| Garments | Upload, product URL import, or in-app search | Use Extract mode when a model is wearing the item |
| Garment count | Up to 7 items in one generation | Fewer items are easier to check for layering errors |
| Camera | Interactive 3D camera for angle and perspective | Set the view before rendering rather than fixing it afterwards |
| Edit instruction | Requests one explicit change, such as changing a coat to navy | Single edits are easier to verify than several at once |
| Output | Social-ready aspect ratios and 4K on supported plans | Choose the crop before generating |
From reference assets to a styled result
In Vtry AI, the workflow starts by adding a person through photo upload or camera capture. Choose references with a visible outline, even lighting, and no bag or furniture obscuring the body.
Next, add clothes by pasting product URLs or using in-app search. Our Smart Wardrobe keeps those imports together, so you're selecting actual collection assets rather than asking the generator to invent a vaguely similar coat.
Finally, combine the person and garments, set the composition, and generate. Compare the result with the source images before making a narrowly scoped edit. A request to adjust coat color is easier to assess than a request to change the coat, pose, lighting, and background simultaneously.
Virtual try-on became a measurable research field in 2019, when Virtually Trying on New Clothing with Arbitrary Poses introduced FashionTryOn to evaluate garment transfer across pose changes, a challenge that still involves geometry, identity, texture, and pose.
Practical rule: Save the reference assets with the result. A beautiful image without an identifiable garment source is difficult to approve responsibly.
Use the pilot checklist at the end to test the workflow before committing a collection to it.
How Multi-Garment Styling Layers an Outfit
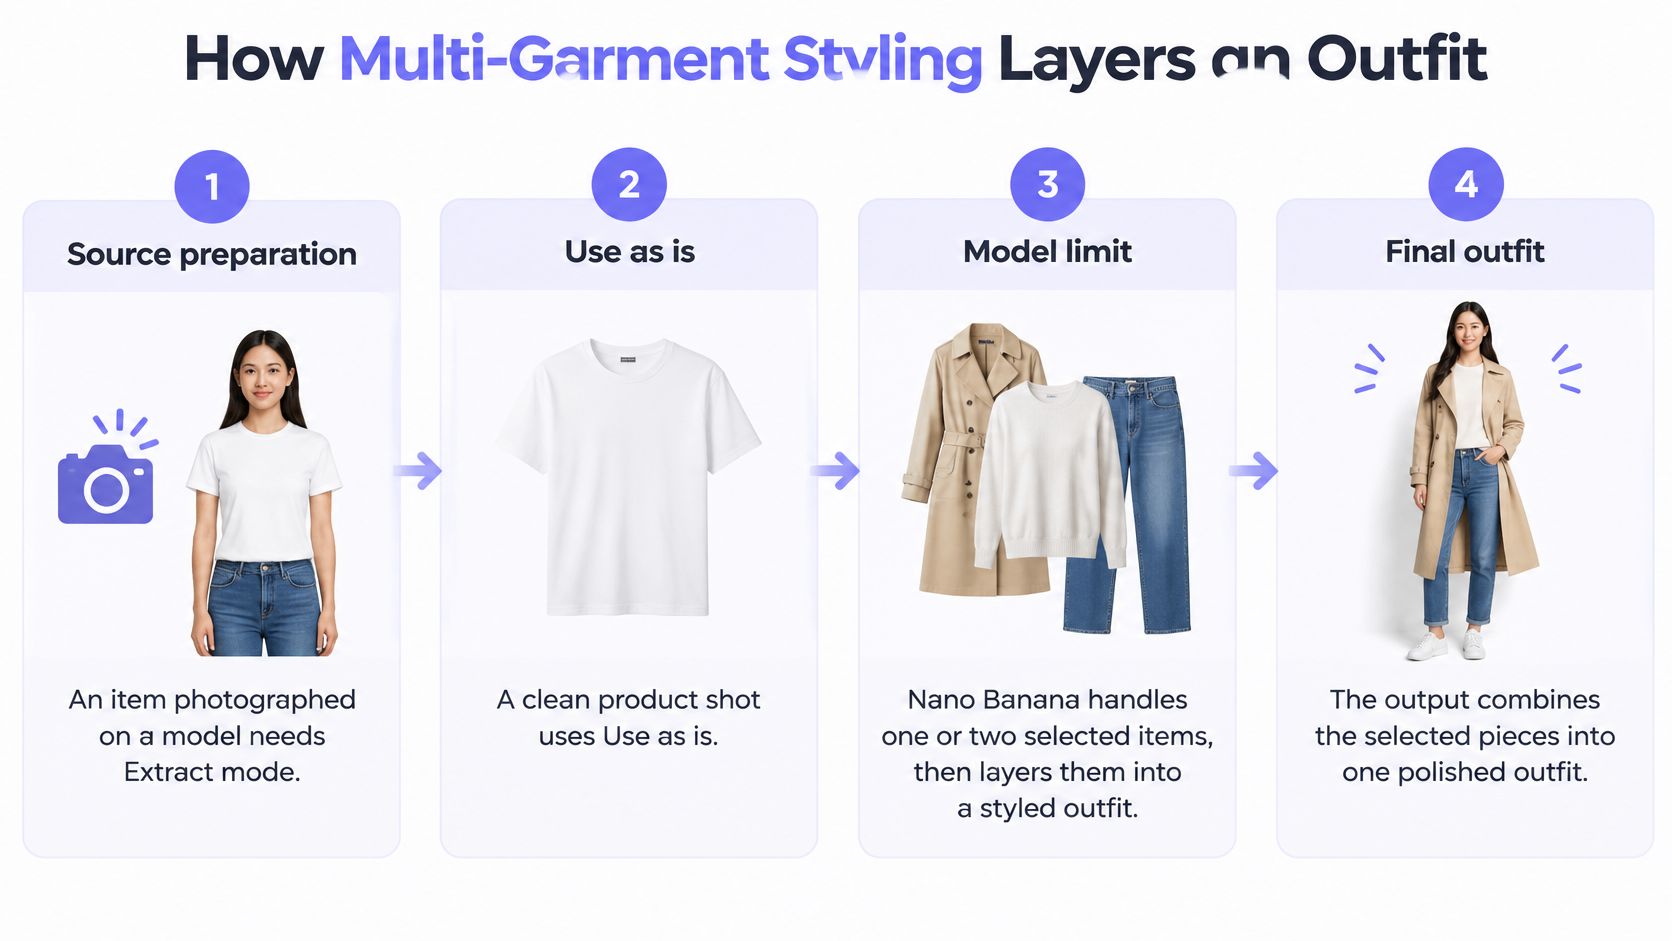
Start with source preparation, not a styling prompt. An item photographed on a model needs Extract mode; a clean product shot uses Use as is. Inspect the extracted garment before proceeding, especially where hands, hair, or another layer covered its edges.
Choose the generation model before assembling the look. Nano Banana handles one or two selected items, while Nano Banana 2.1 supports up to 7 garments on paid plans. A complete look containing more than two selected pieces therefore needs a larger-outfit model.
This process overview separates source preparation from the final composite.
Build from the body outward
Choose the saved person. Confirm that the reference clearly shows the body area the clothes will cover. A cropped ankle or hidden shoulder leaves the generator with less usable information.
Add the base layer. Start with the top or dress and specify whether it should be tucked, untucked, or covered. Leaving that relationship unstated can produce an attractive but commercially incorrect silhouette.
Add bottoms and footwear. Establish the trouser-to-shoe relationship before adding outerwear. Check whether a long hem should cover the shoe or expose it, rather than letting the generator choose.
Add the outer layer. Describe whether the jacket or coat is open, closed, or partially fastened. Treating outerwear as the starting point can leave ambiguous relationships underneath, including merged sleeves or floating hems.
Finish with accessories. State where the bag strap, belt, or scarf belongs relative to the clothing. A shoulder strap that should cross a coat mustn't disappear beneath it halfway down the torso.
Generate and compare against the brief. Check that every selected item appears in the intended position. Don't accept a substituted shoe or invented fastening just because the overall outfit looks polished.
This order organizes your selection and instructions. It doesn't mean the system physically dresses the person in separate rendering passes.
Each added garment creates another relationship to resolve: a cuff beneath a sleeve, a waistband beneath a top, or a strap across a lapel. More items also mean more opportunities for incorrect occlusion, body alignment, and texture.
Keep the selected set to merchandise the listing sells. If shoppers can't buy a prominent styling piece, remove it or clearly identify it as a non-included accessory rather than allowing the image to imply availability.
Choosing Between Model Speed and Resemblance
The model decision is really a decision about which error you can afford: a face that drifts between campaign images, or a coat that merges into the layer beneath it.
Model options for outfit generation
| Model | Multi-garment support | Resolution | Best use |
|---|---|---|---|
| Nano Banana | One or two selected items | 4K upscaling on paid plans | Quick single-item or two-item tests |
| Nano Banana 2.1 | Larger outfits up to 7 garments on paid plans | 4K upscaling on paid plans | Full outfits for final catalog images |
| GPT Image 2.5 | Up to 7 garments per generation | 4K upscaling on paid plans | Sets where the person must closely match the reference |
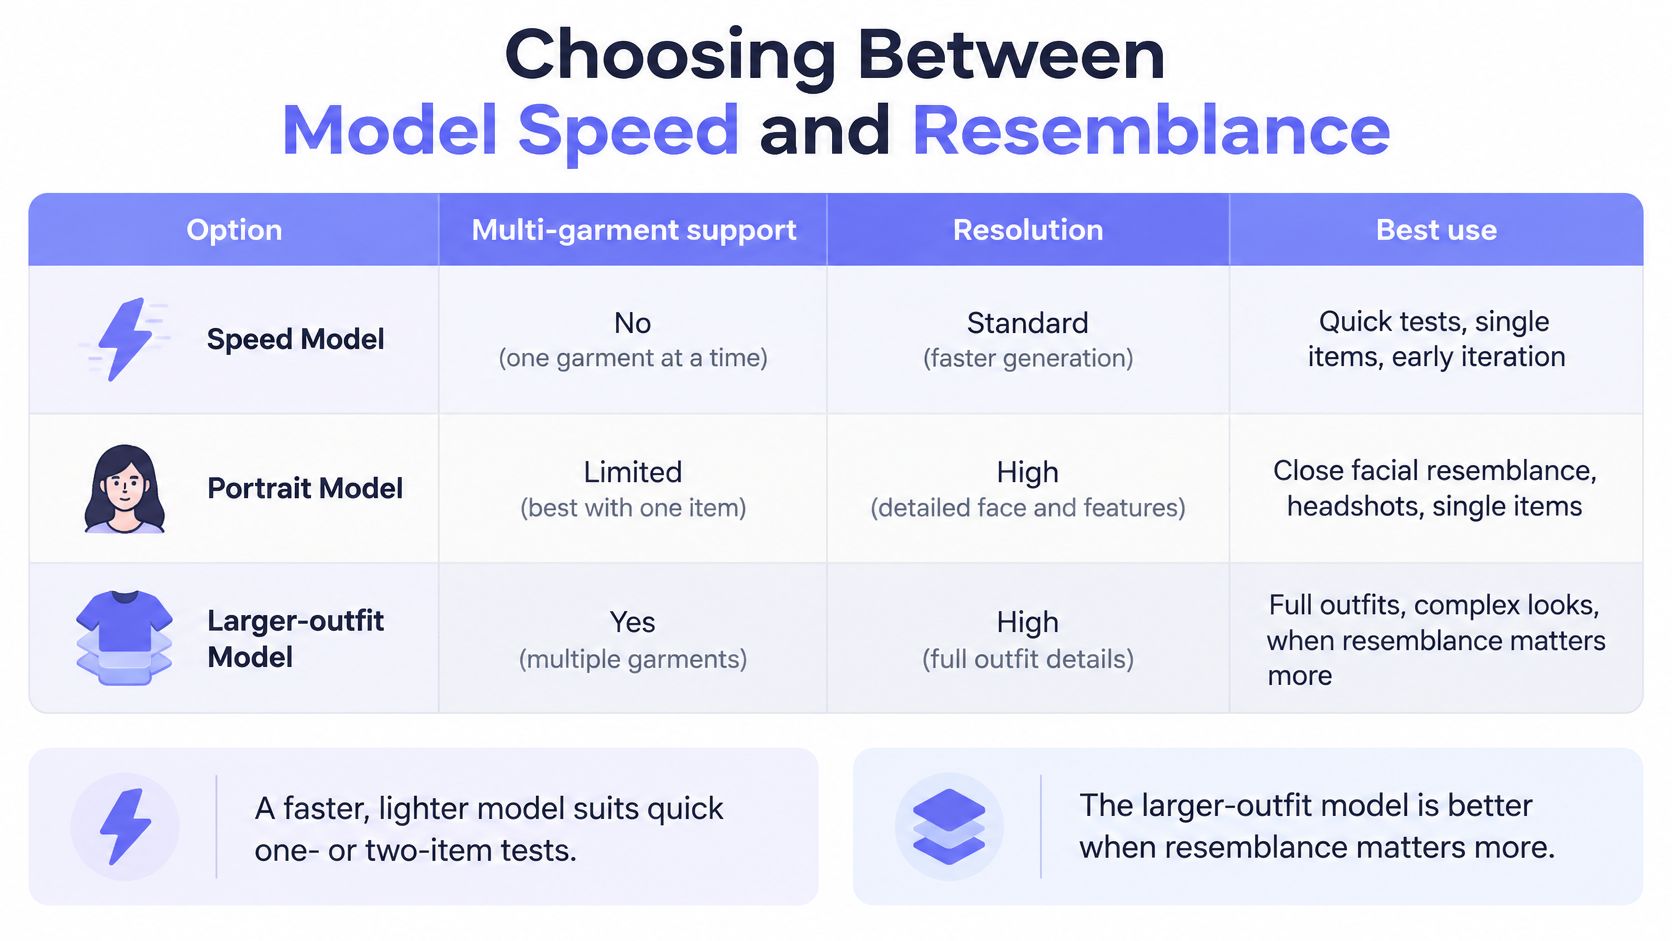
A faster, lighter model suits early tests because you are still deciding whether the styling direction deserves further work. Use it to compare a knit against different trousers, or to check whether an open jacket leaves the base layer visible.
One clean two-item result does not clear a model for production. A successful top-and-trouser image says nothing about how the same model handles a coat, scarf, bag, and footwear with equally reliable relationships.
The comparison below summarizes the options, but your own failure checks should determine the final choice.
Choose what must remain stable
Nano Banana 2.1 is the larger-outfit option for coordinated looks. Evaluate it on garment relationships: whether the jacket reveals the correct neckline, whether the bag follows the body, and whether a long coat preserves the trousers beneath it.
GPT Image 2.5 is positioned for higher resemblance to the reference person. That matters when a campaign uses the same person across a set, where a drifting face makes otherwise consistent photography look disconnected.
Both options run inside the same Vtry AI studio, so switching between them doesn't mean rebuilding the workflow elsewhere. Keep the person photos, source garments, and composition brief constant when comparing them. Otherwise a better result could come from changed inputs rather than the model itself.
Generation takes 15 to 30 seconds. A run of forty looks generated sequentially adds up to roughly ten to twenty minutes of generation alone, before review, retries, editing, or export.
Separate exploration from final production
Use the lighter model to explore simple combinations, then regenerate approved directions with the model suited to the final requirement. A seven-garment composition needs a model that accepts the full selection. A recurring campaign person needs the closer resemblance check.
Apply 4K upscaling only after approving the content. Extra pixels will not restore a missing logo or fix an invented cuff, and a sharper file does not make a wrong garment commercially accurate.
Choose by the failure you most need to avoid: weak outfit layering or a person whose face drifts between images.
If both matter equally, compare outputs against the same references and accept neither compromise by default. The final catalog file should pass the merchandising brief before it wins any preference vote.
Quality Checks Before You Publish an Outfit Image
Realism is not accuracy. A convincing image can still show the wrong face, alter a print, or invent the way a coat closes.
The OpenVTON-Bench framework separates evaluation into identity fidelity, texture fidelity, shape plausibility, background consistency, and overall realism. Those dimensions make a useful production checklist because they prevent an appealing overall impression from hiding a specific failure.
Quality checks for each generated outfit image
| Check | What to verify | Warning sign |
|---|---|---|
| Identity fidelity | Face and body match the reference person | Face shifts between images in the same set |
| Texture fidelity | Fabric pattern, prints, and logos survive | Logos blur or patterns repeat incorrectly |
| Shape plausibility | Collar, sleeve, hemline, and silhouette look correct | Sleeves merge or hems float over the body |
| Background consistency | Backdrop and lighting match the brief | Light direction differs from the rest of the set |
| Overall realism | Shadows and layering look natural | Garments clip through each other |
| Garment source | Item photo has no visible face | Face in the garment photo distorts the result |
Review details before approving the set
Log each dimension against the output and its source assets. A simple review sheet can record pass, edit, or reject, plus a concrete explanation such as missing cuff button or altered chest logo.
Inspect collars, sleeves, hemlines, prints, and logos on every garment, including partially hidden pieces. Zoom in on contact points where the model must reconcile overlapping objects: wrists, waistbands, lapels, straps, and shoes beneath trousers.
Larger outfits deserve particular attention because each additional item can introduce another silhouette or occlusion error. Don't assume that a correctly rendered coat means the shirt underneath retained its original neckline.
Our garment-library warning flags source images containing a visible face because that face can confuse try-on and produce inconsistent results. Use Extract (AI) or replace the source with a cleaner product image before repeatedly regenerating the same flawed input.
Route failures instead of polishing them
Send an isolated, clearly described defect to a text edit. If the identity, cut, or product detail remains uncertain, route the image to a human reviewer or regenerate from corrected assets.
Use an AI product photography review workflow to separate styling approval from product-truth approval. The person choosing the strongest campaign composition shouldn't be the only person checking whether the merchandise is represented correctly.
Release gate: A repeated identity or logo failure is a set-level problem, not an isolated retouching task.
For a small pilot, I would review every output. For larger sets, use a predefined sample covering different garment categories and complex combinations, then reject the set for wider review if the same critical defect recurs.
Using Outfit Images for Merchandising and Social Posts
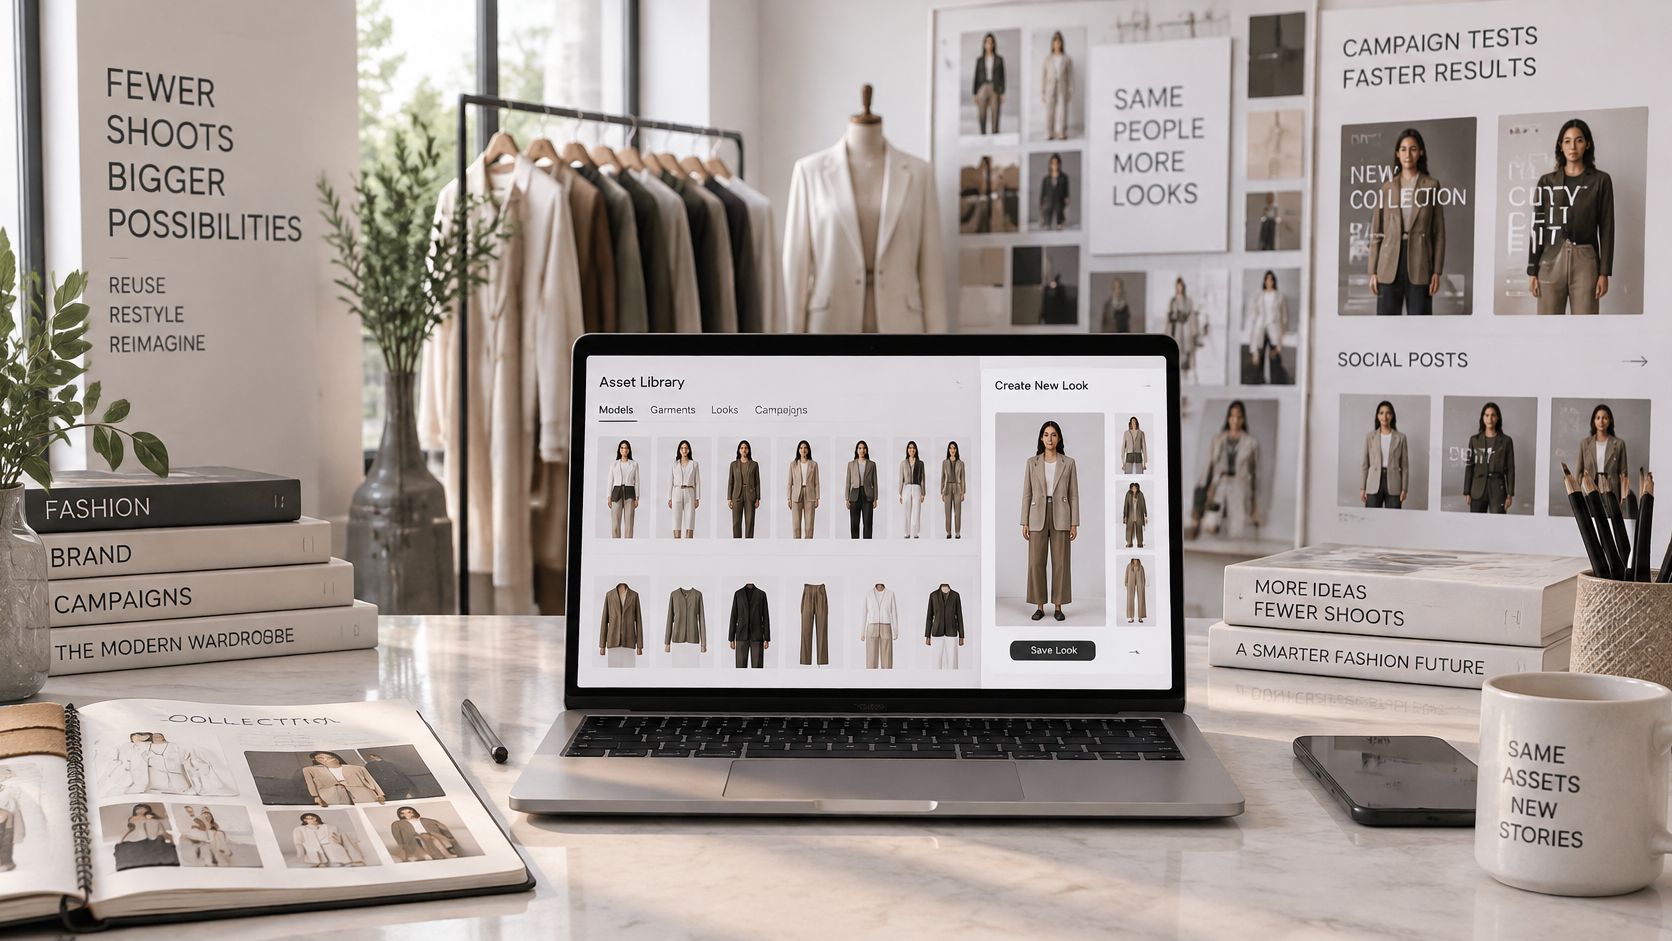
Generated outfit imagery can reduce repeated studio work for collection launches and make campaign variations easier to produce. A saved library of people, garments, and results also lets a creative team reuse approved assets instead of rebuilding every brief.
For social content, choose the aspect ratio before generation. Our social-ready exports support feed formats for Instagram, TikTok, and other channels, but a correct export ratio won't rescue a composition that places the shoes or bag outside the crop.
A shared production workspace helps keep styling decisions attached to the assets used to create them.
Test commercial usefulness, not image popularity
The commercial purpose is to help shoppers understand a styling combination with less uncertainty. That isn't the same as proving that the generator increases sales.
An assessment of virtual try-on evidence published by ACM cautions that comparisons between try-on users and non-users can reflect self-selection. Already-engaged shoppers may be more likely both to use the feature and to purchase.
Use randomized exposure instead. Show one group product pages with generated full-outfit imagery and another group standard catalog imagery, while keeping price, traffic source, merchandising position, and size information comparable.
Don't simultaneously rewrite the product description or move the purchase button. If several things change together, the team can't isolate the effect of the imagery.
Track benefits and failure costs
Measure commercial outcomes alongside production and product-truth problems:
- Add-to-cart rate: Check whether the image encourages product consideration.
- Conversion: Establish whether that interest becomes completed purchases.
- Return rate: Watch for a delayed cost after apparently stronger sales.
- Generation latency: Include the waiting time that affects production throughput.
- Garment-level failure reports: Record which items require edits, regeneration, or removal.
Segment the results by garment category and by single-item versus coordinated multi-item imagery. A strong result for simple tops shouldn't automatically justify using the workflow for structured outerwear.
For social campaigns, keep the audience, offer, and message comparable when testing creative. Likes can help select a visual direction, but they don't establish that customers understood what was included or received what they expected.
Run the test through a full selling cycle before deciding. Wait long enough to see the relevant returns and complaints, not just launch-day engagement, and retain the control images so the comparison remains interpretable.
Fit and Disclosure Limits to Plan For
In Rithum's 2025 survey of more than 6,000 consumers across the US, Canada, UK, France, and Germany, 61% of consumers who returned products cited poor fit, while 33% said the product didn't match its online description or imagery. Those are reasons reported by consumers who returned products, not percentages of all orders.
A generated outfit image cannot tell a shopper whether an exact garment will fit. It shows a proposed appearance, not verified ease at the chest, pressure at the waistband, fabric stretch, or movement when sitting.
Pair styling with physical product information
Garment measurements, stretch, body pose, camera angle, and lighting all affect how someone interprets the result. Without measurement-based inputs and validation, convincing drape is still a generated visual assumption.
Keep these purchase aids beside the image:
- Size chart: Explain how shoppers should take and compare measurements.
- Model measurements: Identify the reference context without implying identical fit.
- Garment dimensions: Give physical lengths and widths relevant to the item.
- Return policy: Make the practical options clear before purchase.
When evaluating virtual fitting room software, distinguish styling visualization from measurement-based fitting. They address related questions, but they aren't interchangeable.
Disclose the image without obscuring the product
In Clutch's AI imagery survey, 84% of consumers said disclosure was important, and 57% failed to correctly identify AI-generated photos in testing. Don't rely on shoppers to recognize synthetic imagery themselves.
Use the label AI-generated styling visualization, alongside access to authentic garment photography. Add a clear notice where color, texture, proportions, or accessories may differ from the physical product.
A generated image doesn't establish authenticity, stock availability, or brand authorization. Preserve original product assets and identify what is included in the purchase.
Set disclosure at the template level, with a review for exceptions. Leaving it to individual image uploads makes consistent communication unnecessarily fragile.
Choose a Model and Run a Small Pilot
Start with a bounded merchandising task, not the entire catalog. Assign a creative owner and a product-accuracy reviewer so approval doesn't stop at whether the image looks good.
Keep the pilot collaborative, with source assets and review decisions available to everyone involved.
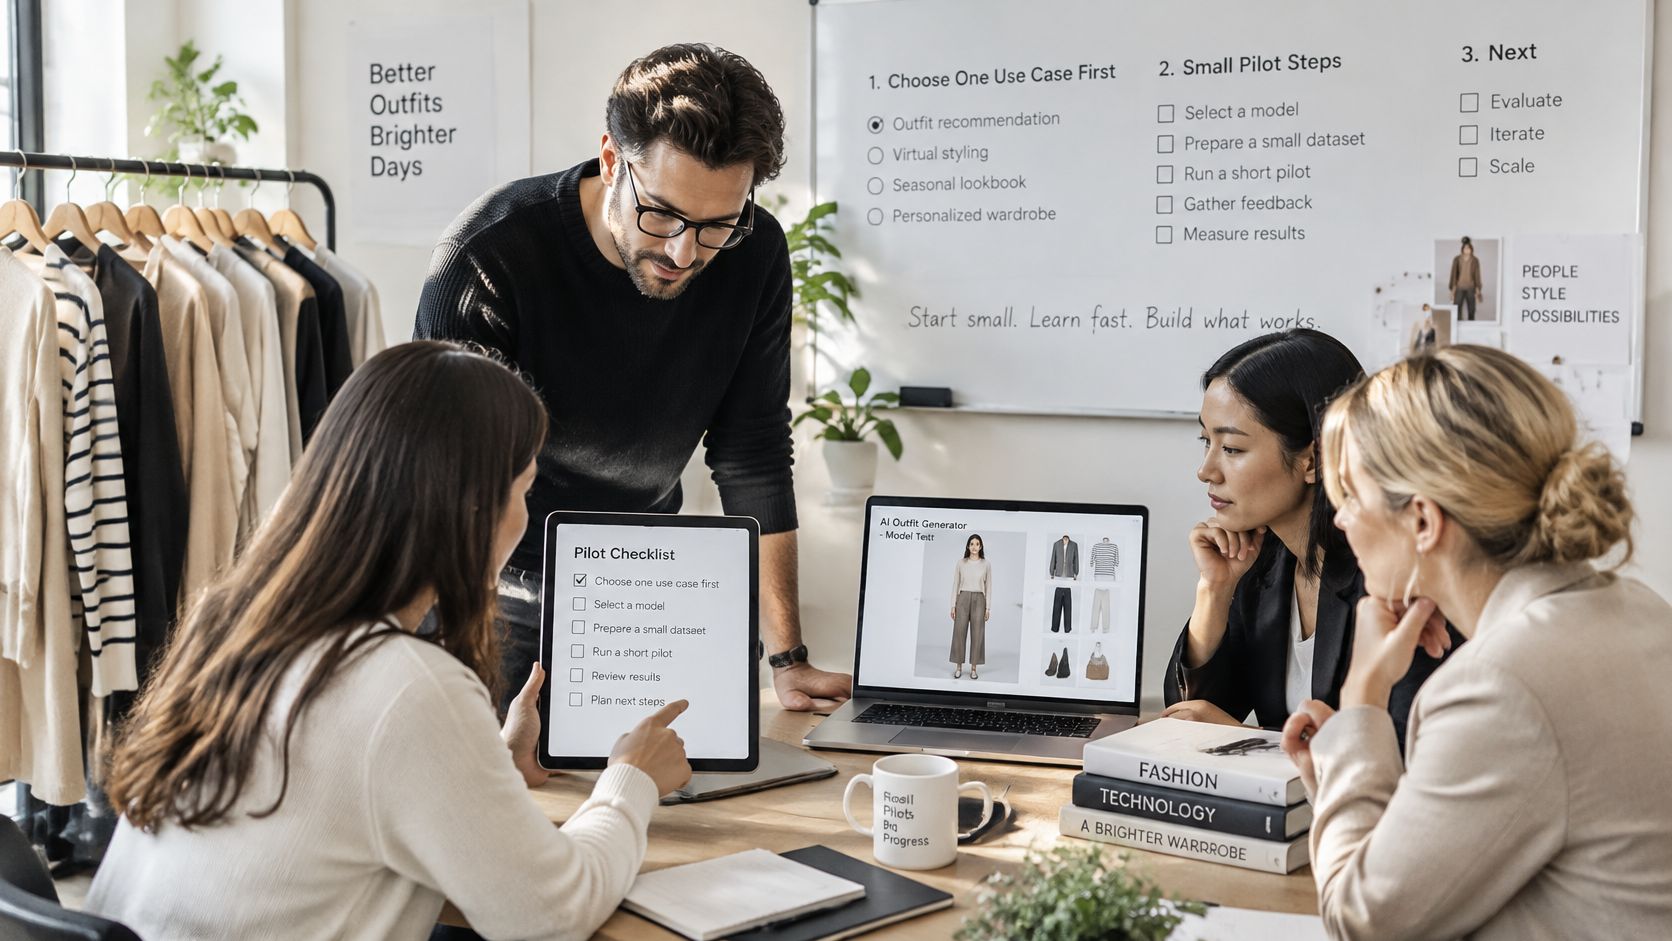
First-run checklist
Name the use case. Choose a launch collection, social campaign, or catalog refresh. This sets the required compositions and export formats.
Select the model. Start simple for concept exploration, then choose the final model according to garment complexity and reference-person consistency.
Build a controlled library. For example, start with one saved person and a small garment selection imported from product URLs or in-app search. Extract worn-by-model images and inspect the resulting packshots.
Generate a bounded set. A hypothetical pilot might contain ten to twenty looks in the planned aspect ratios. Include both straightforward combinations and the overlapping layers you intend to publish.
Apply the release checks. Review the whole small pilot, record failures, and reject sets with recurring identity, texture, or shape defects. Count retries as production work.
Publish with context. Apply the disclosure template and provide authentic product photography alongside the visualization. Confirm that all depicted merchandise is correctly identified.
Evaluate the selling cycle. Compare the randomized test with the control, including returns and fit complaints before deciding to expand.
The walkthrough can help your team align on the interface before assigning production tasks.
Automate only after approval is repeatable
Once the manual process works, our virtual try-on API workflow lets developers create people, upload clothes, queue generation jobs, and poll results from a backend. Keep the same asset records and approval gates when moving into automation.
If conversion improves without higher returns, extend the workflow to the next launch. If returns or fit complaints rise, correct the garment library, product information, and disclosure settings before scaling.
Vtry AI brings garment import, saved people, multi-garment generation, editing, and export into a shared fashion photo workflow. Visit Vtry AI to build a small pilot with your own collection assets, then judge the results on product fidelity and commercial usefulness, not appearance alone.