clothing photography tips
8 Clothing Photography Tips for Better Fashion Shots
Learn 8 practical clothing photography tips for better fashion shots, from lighting and backgrounds to color, angles, and poses for your next shoot.
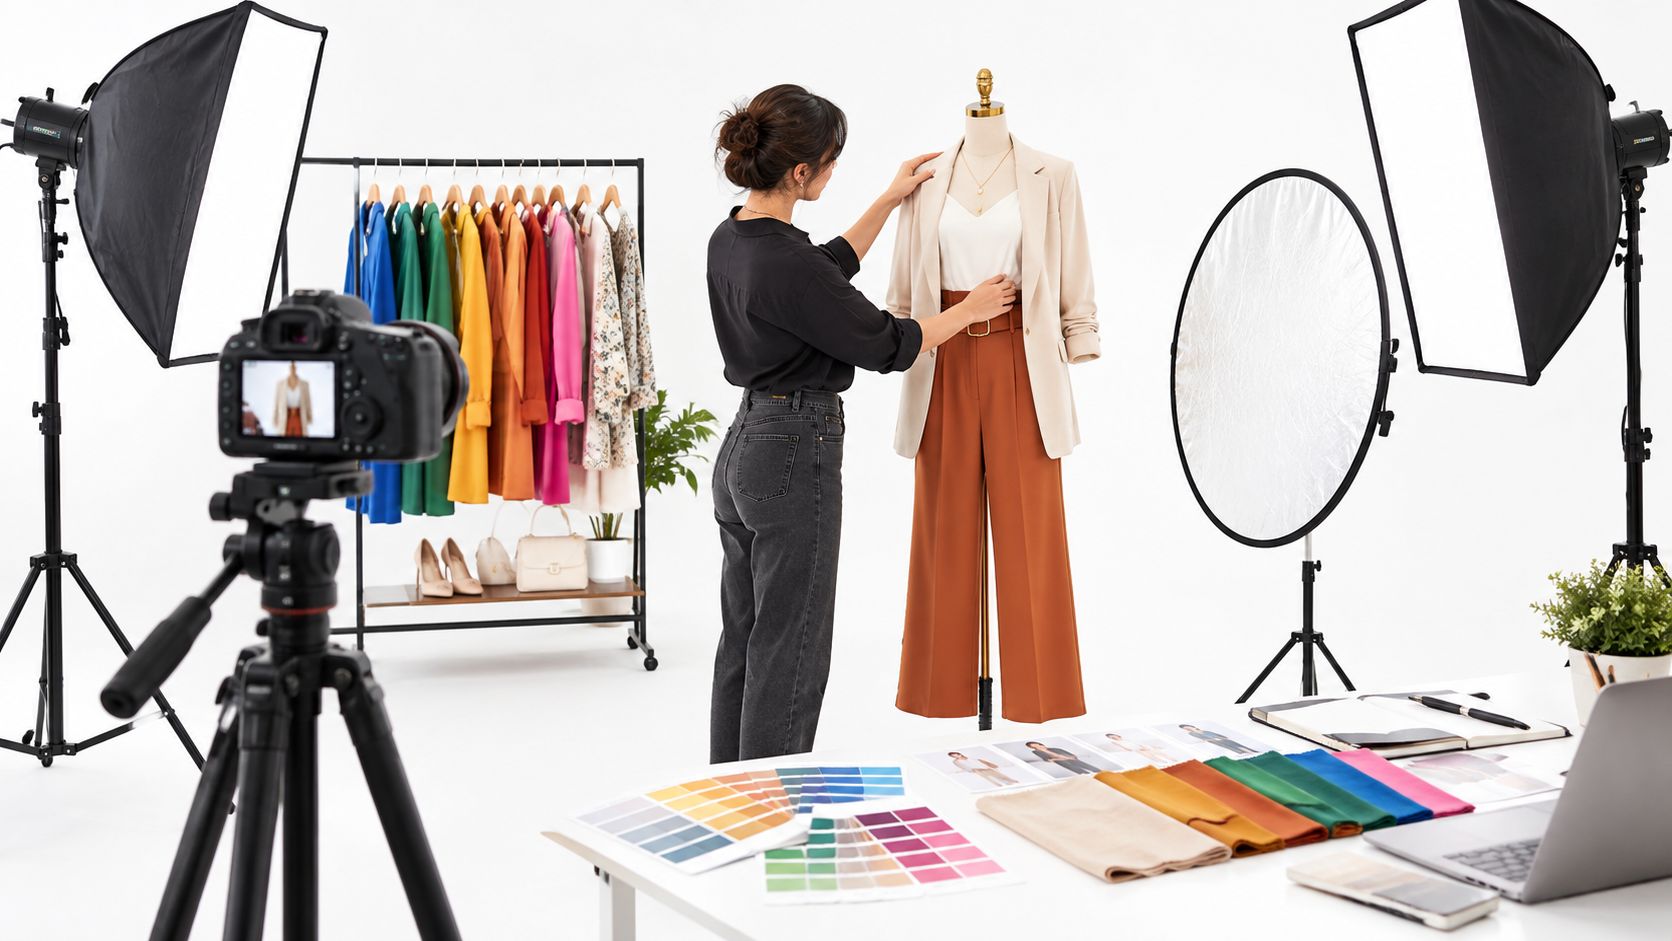
A new collection can look finished on the rack and still fall apart online. The team shoots one day in window light, another day under LEDs, and a third day in a different corner of the studio, then the product page, ad set, and social posts all show slightly different colors, crops, and levels of polish. Most clothing photography problems start before editing, because the source images are inconsistent.
Good clothing photography tips begin with the workflow, not the retouching. Plan the crop before the shutter clicks. Control the background and light before the first look goes up. Lock color, capture detail, keep your angle set consistent, then build separate libraries for garments and people so the same assets can work across ecommerce, ads, and AI try-on tools such as Vtry AI without extra re-shooting. That's the practical order of the shoot.
Table of Contents
- 1. Plan Shots Around Prompts, Aspect Ratios, and Social Formats
- 2. Use Neutral, Uncluttered Backgrounds for Clean Garment Extraction
- 3. Use Consistent, Diffused Lighting Across All Shoots
- 4. Calibrate Color With Reference Targets for Accurate Fabric Color
- 5. Capture High-Resolution Source Images and Fabric Detail Shots
- 6. Photograph Garments From Multiple Angles for Accurate 3D Composition
- 7. Shoot Clean Garment-Only Images Without Models for Your Library
- 8. Shoot Model Reference Photos in Neutral Poses With Clear Body Lines
- Clothing Photography: 8-Tip Comparison
- Turn These Eight Habits Into a Repeatable Shoot Checklist
1. Plan Shots Around Prompts, Aspect Ratios, and Social Formats
A shoot gets easier when you know where every image needs to live. A square crop for a feed post, a vertical crop for stories, and a tighter crop for a product page all ask for different framing, even when they use the same outfit. If the subject sits too close to the edge, you lose flexibility and force a re-shoot for what should have been a simple export.
Build room into the frame
Leave generous margin around the garment, model, or mannequin. That gives you options for 4:5, 1:1, and 9:16 exports without cutting off hems, hands, sleeves, or footwear. Social teams often need one look to work across several placements, and the cleanest way to do that is to shoot with the crop in mind from the start.
A shot list helps the whole set stay aligned. Assign each look to a channel, a crop, and a visual purpose, then keep the styling prompt and mood references in one shared workspace so the same outfit direction can be reused in future collections or AI-generated variants. For teams using Vtry AI, that same prompt discipline makes generated outfits feel like part of the brand system instead of random output.
Practical rule: if a composition only works in one crop, it's too tight for a modern content library.
- Map each look to a channel: Product page, ad creative, email header, or social format should decide the frame before the camera comes out.
- Leave safe space around key details: Keep collars, sleeves, cuffs, shoes, and bag straps inside the widest expected crop.
- Review on a phone first: Small screens expose framing mistakes faster than a desktop monitor.
A clothing photo set gets more reusable when the first decision is framing, not styling. That discipline saves time in export and keeps a single shoot useful across more placements.
2. Use Neutral, Uncluttered Backgrounds for Clean Garment Extraction
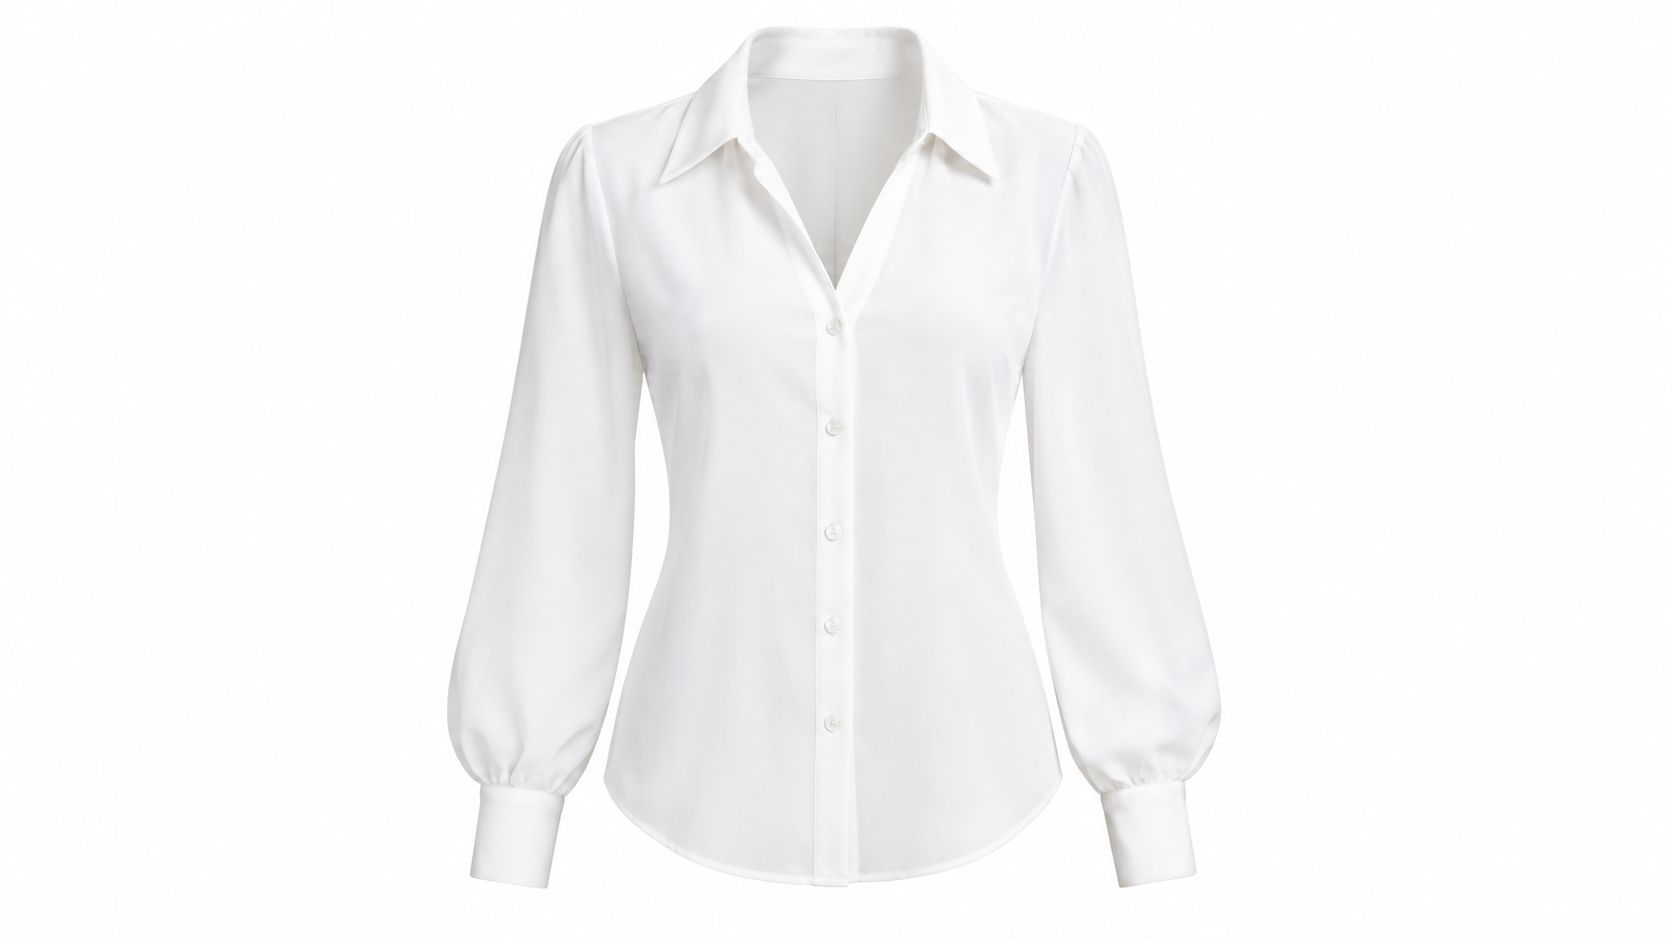
A plain background does more than look tidy. It gives editors cleaner edges, and it gives AI systems less visual noise when they isolate a garment or combine it with a person photo. In ecommerce, pure white is often expected for listing images, while lifestyle content can live on neutral tones that still keep the subject easy to separate.
Keep the backdrop doing less than the garment
A background should support the item, not compete with it. White and pale gray work well for dark garments because the edges stay visible. Deeper backdrops help pale clothing stand apart, as long as the lighting stays even and the set doesn't pick up unwanted color spill.
Clean source images matter for downstream workflows too. If the garment library will feed automated outfit generation later, clutter, props, and stray shadows become problems that have to be removed or ignored. The cleaner the source, the more reliable the extraction.
For marketplace sellers, that means thinking beyond aesthetics and into compliance and reuse. The relevant setup details for Amazon-style product images are spelled out in Vtry AI's product image guidance for Amazon, and the same logic applies to a catalog built for both store pages and AI try-on workspaces.
- Match background and garment contrast: Use light backdrops for dark items and darker backdrops for light items.
- Keep the surface even: Patchy light across the backdrop complicates extraction and makes color read inconsistently.
- Clear the frame completely: Remove lint, labels, cords, and props that don't belong in the product story.
Simple backgrounds do not make the image boring. They make the garment readable, and that matters more when the same file has to work in a catalog, a campaign crop, and a compositing workflow.
3. Use Consistent, Diffused Lighting Across All Shoots
Lighting consistency is the difference between a collection that feels deliberate and one that looks assembled from leftovers. Soft, even light keeps texture visible without throwing hard shadows across seams, buttons, and hems. It also helps a source image stay useful when it's reused for AI-generated outfits, because the garment arrives with cleaner visual information.
Set one lighting recipe and keep it. A north-facing studio window can work for a lookbook when the light stays stable, and identical softbox setups are even better when catalog teams need uniformity across many SKUs. The goal is not dramatic contrast, it's repeatable presentation.
Lock the light before the outfit changes
Set white balance manually and keep it locked across the session. Use the same light position and distance for every garment so exposure doesn't drift from one look to the next. Shoot in RAW if you want room for controlled adjustments later, but don't rely on editing to solve inconsistent light.
Avoid mixing daylight with tungsten or LEDs in the same shoot. Mixed sources shift color and complicate the correction process, especially on fabrics that already sit in tricky ranges like black, navy, burgundy, or cream. For AI try-on, the problem is bigger than visual polish. Clean lighting gives the system cleaner source inputs.
The output should also be judged on the screen people use. A bright monitor can hide inconsistency that becomes obvious on a phone. That's why one of the later review steps should happen on the same device where the image will be seen.
4. Calibrate Color With Reference Targets for Accurate Fabric Color
Fabric color is one of the easiest things to miss and one of the hardest things to forgive. A navy coat that leans teal, or a deep red dress that shifts brown, weakens trust fast. Historical color-photography improvements made accurate color more practical, and modern workflow still depends on the same core principle, a stable reference under controlled light.
Color targets solve part of the problem. Photograph a color checker or gray card under the same lighting used for the garments, then build a camera profile in RAW software and apply it to the batch. Use the same calibrated display for editing, because a correct file on an uncalibrated screen still gets judged badly.
Treat difficult colors as separate checks
Some fabrics need extra attention. Dark navy, saturated red, and other low-light-reflective tones can look different from shot to shot if the light or monitor drifts. Keep a swatch reference nearby for those pieces, especially when you're matching source photos to later exports or AI-generated variations.
A calibrated shoot doesn't promise perfection. It does give you a repeatable baseline that the team can defend.
Color accuracy moves from historical importance into practical necessity. Fashion work depends on visual detail, and independent industry coverage of eBay data found that listings with images at least 500 pixels on the longest side, without added text or graphics, and uploaded directly to its picture service were 4.5% more likely to sell. The same coverage also reported that shoes with higher-quality images were 1.17 times more likely to sell and handbags 1.25 times more likely. That doesn't make color correction decorative, it makes it commercial. The color-photography background and the eBay image findings are summarized here.
Use the target once, then keep the workflow consistent
- Photograph the reference target in the same light as the clothes: A target shot taken under different light won't help the batch.
- Apply the same correction across the session: That keeps a collection visually coherent.
- Check the file on the intended display path: A phone, a desktop monitor, and an ecommerce viewer don't always show the same result.
Accurate color protects the catalog, and it protects any later reuse in AI-assisted styling. If the source is wrong, the output only becomes faster to produce, not better.
5. Capture High-Resolution Source Images and Fabric Detail Shots
A full-length image tells you how the garment reads at distance. A close-up tells you whether the garment is worth trust. The best source files do both. High-resolution capture matters because zoom is where shoppers inspect texture, stitching, button quality, and print edges, and that same detail is what AI tools need when they preserve material boundaries.
Baymard's ecommerce testing shows that shoppers use zoom to inspect fabric texture, stitching, fit cues, and small labels, and that low-resolution zoom or weak enlargement can push them toward abandonment. The practical lesson is simple. Capture a master image with enough pixel density for the site's maximum zoom level, not just for the thumbnail. Baymard's resolution and zoom guidance makes that point directly.
Shoot details as part of the set, not as an afterthought
Use a tripod. Keep the camera steady. Stop down to a small aperture, often around f/8 to f/11, so the garment stays sharp across the frame. Shoot at the highest resolution the camera supports, and avoid heavy in-camera compression if you want texture to survive export.
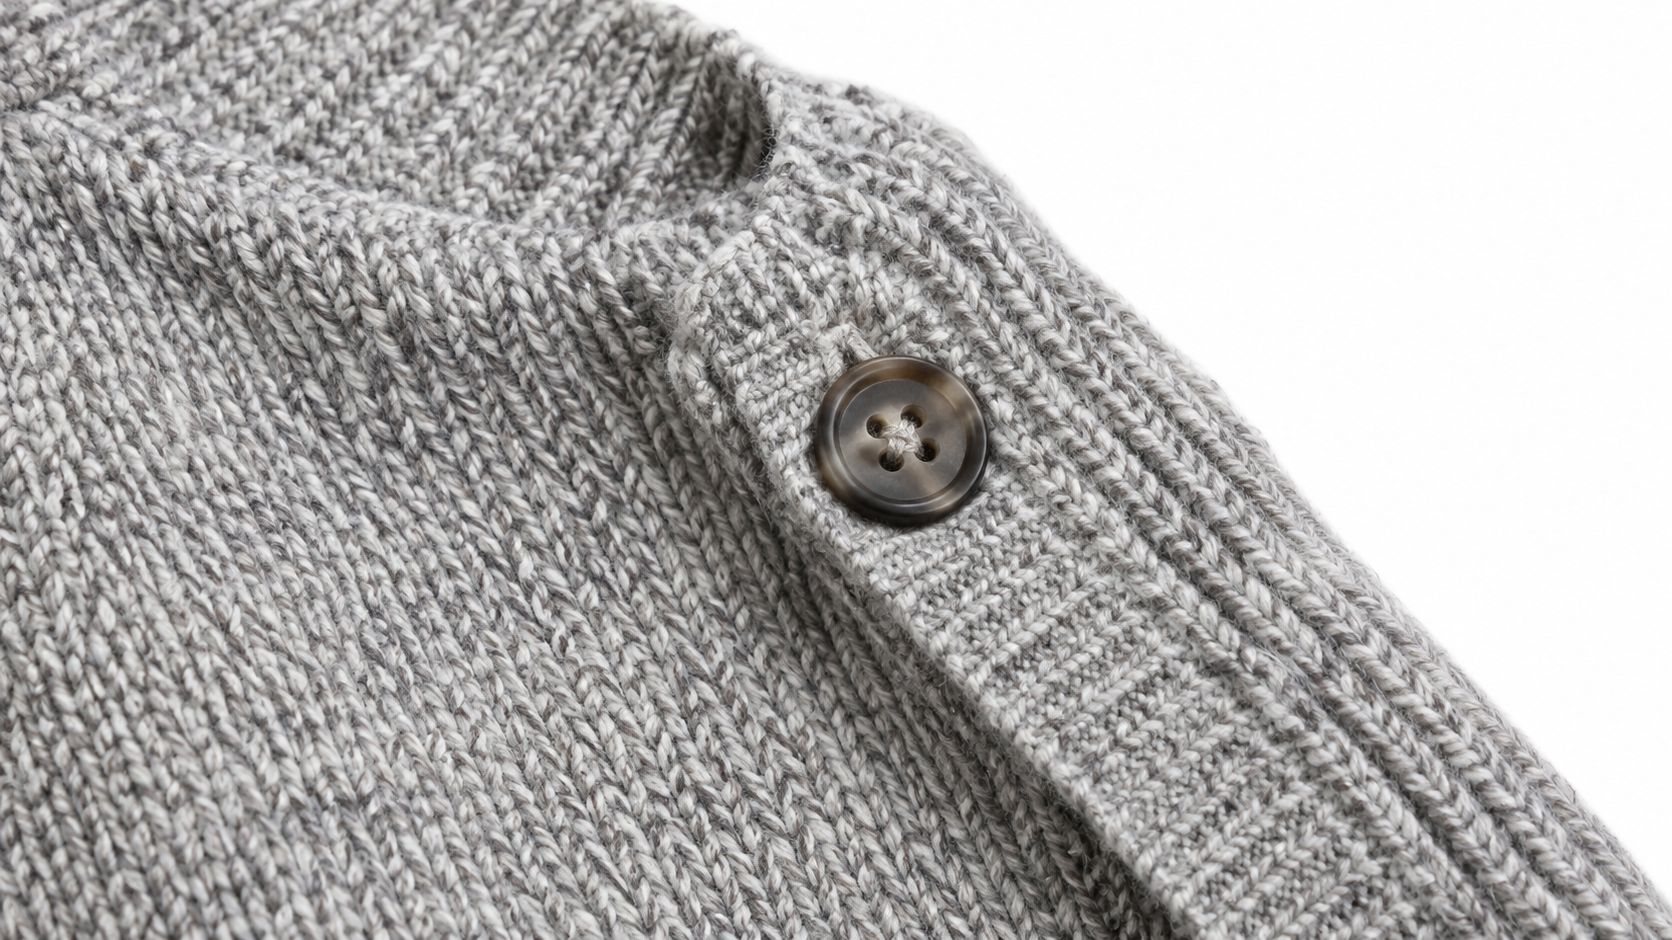
Then take separate detail shots. Capture weave, stitching, embroidery, closures, hardware, and print scale. Premium knitwear, denim, tailoring, and embellished pieces all benefit from this because the viewer can confirm what the garment is made of, not just what it resembles at a glance.
- One full-length frame per look: This keeps the garment readable in context.
- Several detail frames per garment: This supports zoom, merchandising, and QA review.
- Moderate sharpening in post: Too much sharpening makes fabric look synthetic.
A good detail frame also helps review AI-generated outfits later. If the output hides a button placket or smears a weave pattern, the team can spot the mismatch quickly because the source already documented the actual construction. That turns quality control into a visual comparison, not a guess.
6. Photograph Garments From Multiple Angles for Accurate 3D Composition
Front-only product photography leaves too much unanswered. Side seams, back closures, sleeve shape, and hem behavior all matter when a shopper tries to predict fit. Multiple angles also make a garment library more useful when the same item needs to be placed into different layouts or rendered in a more interactive view.
Keep the angle set consistent across the catalog
Use the same focal length for the whole series, often in the 50mm to 85mm equivalent range, so the garment shape doesn't shift from one SKU to the next. Keep the camera at waist or chest height to avoid flattening the silhouette, and mark the floor positions for both camera and mannequin so the framing stays repeatable.
That consistency matters when a team builds multi-view carousels or product libraries for 3D-style adjustment later. If one dress is shot at a low angle and the next at head height, the collection stops feeling like one system. It feels like a set of exceptions.
A simple file naming convention helps too. Name files by SKU and angle so the archive stays usable when the team imports assets into a new workspace or asks an editor to pull a front, back, and three-quarter view under deadline.
Practical rule: the angles should answer fit questions before they answer aesthetic questions.
A three-angle set is often enough for many garments, but more complex pieces need more. Jackets with structure, dresses with drape, and trousers with volume all reveal different truths from different viewpoints. The point is not to create redundancy. The point is to create visual certainty.
7. Shoot Clean Garment-Only Images Without Models for Your Library
Garment-only images are the backbone of a reusable catalog. A mannequin, ghost mannequin, invisible mannequin, or flat lay gives you a clean silhouette without the distractions that come from faces, poses, and background movement. That matters because product photos with models can confuse virtual try-on systems, especially when the garment needs to be separated from the person later.
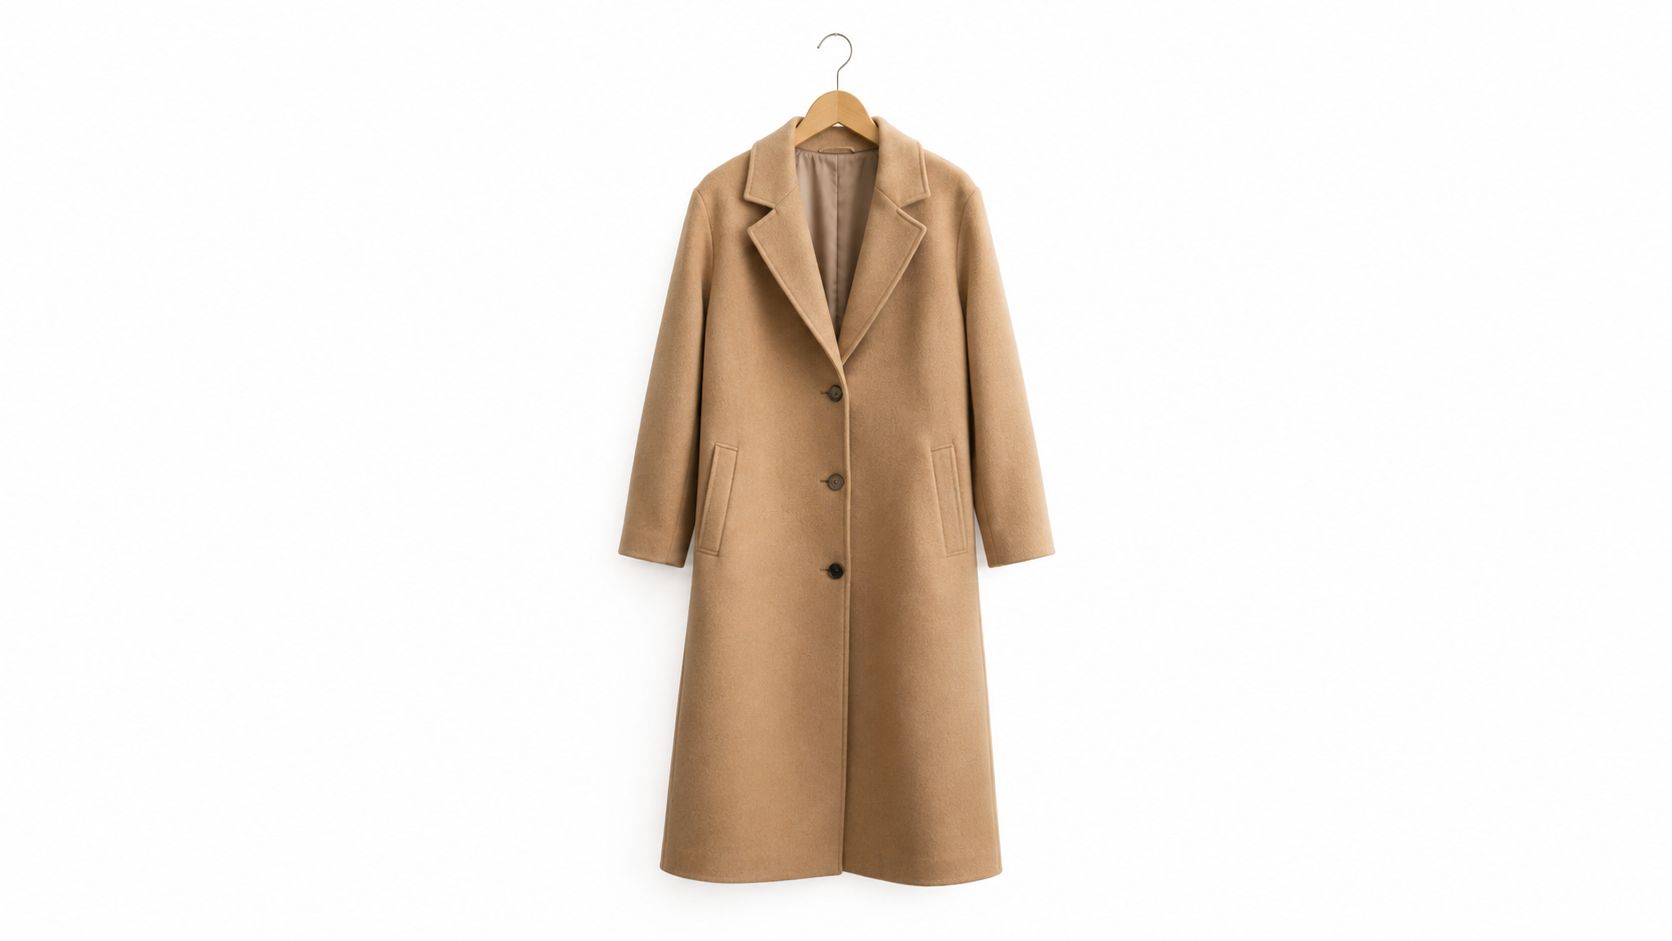
The cleanest garment libraries are boring in the best way. No props. No hands. No cropped hems. No background clutter that can be mistaken for part of the clothing. When the library is neat, the system has an easier time reading silhouette, color, and construction later.
For teams using Vtry AI, the ghost-mannequin workflow is especially relevant, because the platform flags faces in product images to improve consistency. The practical guidance for that workflow is laid out in Vtry AI's ghost mannequin photography guide, and the same principle helps any library that needs to feed both ecommerce and try-on generation.
Keep the garment whole
- Don't crop key edges: Sleeves, hems, straps, and collars need to stay visible.
- Use one form size across the catalog: That keeps proportions predictable.
- Shoot on a plain surface: A clean plane makes later cutout work faster.
The benefit is not only technical. A garment-only archive lets a team combine the same item with different people, different prompts, and different campaign needs without having to rebuild the source asset each time. That's a direct gain for traditional merch work and AI-assisted outfit generation alike.
8. Shoot Model Reference Photos in Neutral Poses With Clear Body Lines
When a person photo is meant to support virtual try-on or reusable styling, the pose should help the system, not hide the body. Neutral, front-facing, or lightly angled poses make the shoulders, waist, and legs legible. Arms slightly away from the torso keep the silhouette clear, which reduces confusion when garments get mapped onto the person later.
Keep the body readable
Hair, bags, crossed arms, and dramatic fashion poses are the wrong choice for reference photos. They obscure the body lines that try-on tools need. Fitted base layers in neutral colors help too, because they preserve the shape without adding visual noise.
Consistency matters here as much as it does for garment shots. Use similar lighting and background treatment so the person library and garment library feel like they belong to the same production system. If the model reference looks glossy and theatrical while the garment is shot plainly, the combined result can feel mismatched.
Consent and usage rights belong in the workflow as well. Model photos move across teams and tools fast, so the file should travel with clear rights documentation and a clean naming system. Vtry AI's guidance for clothing product photos is useful here because it reflects the same operational problem, person images work best when they're direct, neutral, and easy to reuse.
Neutral does not mean lifeless. It means the body is legible enough to support accurate garment placement.
A reusable person library saves time when the team needs multiple outfits, multiple campaigns, or multiple visual tests. The right reference pose makes those outputs more dependable because the source itself is clear.
Clothing Photography: 8-Tip Comparison
| Technique | Implementation Complexity 🔄 | Resource Requirements ⚡ | Expected Outcomes ⭐📊 | Ideal Use Cases 💡 | Key Advantages |
|---|---|---|---|---|---|
| Plan Shots Around Prompts, Aspect Ratios, and Social Formats | Medium, requires preproduction and shot lists | Moderate, planning time, shared prompt library | ⭐⭐⭐⭐, multi-format deliverables; fewer re-shoots 📊 | Social campaigns, ads, influencer content | Flexible crops, consistent styling, faster campaign testing |
| Use Neutral, Uncluttered Backgrounds for Clean Garment Extraction | Low, simple setup and discipline | Low, backdrops, even lighting | ⭐⭐⭐⭐, cleaner isolation; fewer extraction errors 📊 | Marketplace listings, DTC product pages | Easier AI extraction, platform compliance, minimal artifacts |
| Use Consistent, Diffused Lighting Across All Shoots | Medium, needs controlled setup and locked settings | Moderate, softboxes/windows, light modifiers | ⭐⭐⭐⭐, uniform color/texture; less post correction 📊 | Ecommerce catalogs, seasonal lookbooks | Stable brand tone, cleaner AI inputs, reduced editing time |
| Calibrate Color With Reference Targets for Accurate Fabric Color | Medium, adds workflow steps and color management | Low–Moderate, color charts, calibrated display, software | ⭐⭐⭐⭐⭐, accurate fabric color; fewer returns 📊 | Brands prioritizing color fidelity and conversions | Reliable color baseline, faster batch edits, improved trust |
| Capture High-Resolution Source Images and Fabric Detail Shots | Medium, careful capture and macro technique | High, high-res camera, tripod, storage | ⭐⭐⭐⭐⭐, preserved texture; 2K/4K-ready assets 📊 | Premium brands, ad creatives, catalog production | Superior texture preservation, verification material, upscaling-ready |
| Photograph Garments From Multiple Angles for Accurate 3D Composition | High, consistent multi-angle protocol required | Moderate, extra shoot time, consistent framing | ⭐⭐⭐⭐, enables perspective adjustments and 3D uses 📊 | 3D/interactive viewers, merchandisers, outfit composition | Accurate shape context, angle flexibility, natural compositions |
| Shoot Clean Garment-Only Images Without Models for Your Library | Low–Medium, simple capture; ghost-mannequin postwork | Low–Moderate, mannequins/flat-lay setup, editing time | ⭐⭐⭐⭐, reusable garment assets; clearer silhouettes 📊 | Virtual try-on libraries, reusable garment databases | Minimizes face/body confusion, clearer silhouette extraction |
| Shoot Model Reference Photos in Neutral Poses With Clear Body Lines | Medium, model direction and legal releases needed | Moderate, models, consistent lighting/background | ⭐⭐⭐⭐, better garment placement and fit realism 📊 | Person onboarding, virtual try-on, reusable people libraries | Improves fit accuracy, consistent person assets, fewer re-shoots |
Turn These Eight Habits Into a Repeatable Shoot Checklist
A reliable clothing photo workflow starts before the set is built. Plan the crop and prompt first, so each look can serve product pages, ads, and social placements without forcing a reshoot. Then control the background and light, because clean extraction and accurate garment edges begin with the source image, not the edit.
After that, lock color with a reference target and keep the display calibrated so the file you approve is the file the team sees. Capture high-resolution full-length frames and detail shots next, because texture, stitching, closures, and fabric finish are part of the buying decision. Then shoot multiple angles so front, back, and side views answer shape and construction questions in the same session.
The last two steps build the reusable libraries that keep modern fashion content moving. Shoot garment-only images for the catalog, then create neutral model reference photos with clear body lines for try-on and outfit generation. That separation keeps the garment library clean and makes it easier to combine the right people with the right items later, whether the output is a standard ecommerce gallery or a Vtry AI generation workflow.
A one-page shoot brief solves more than many people expect. List the channel, crop, lighting setup, color reference, angle set, garment-library format, and model-reference requirements in one shared checklist, then use the same sheet for every session. That simple discipline gives the studio a stable baseline, helps editors move faster, and makes every new collection easier to reuse across product pages, campaign assets, and AI-assisted outfit creation.
Vtry AI gives fashion teams a place to combine people, garments, editing, and export in one workspace, so the same source images can support both studio shoots and virtual try-on workflows. If you're building a cleaner garment library, tighter model references, or faster social-ready outfit exports, visit Vtry AI and review how its workflow fits your shoot process.