clothing product photos
Clothing Product Photos: A Practical Guide for Ecommerce
Master clothing product photos for fashion ecommerce. Learn studio techniques, model vs flat-lay choices, styling tips, and editing workflows
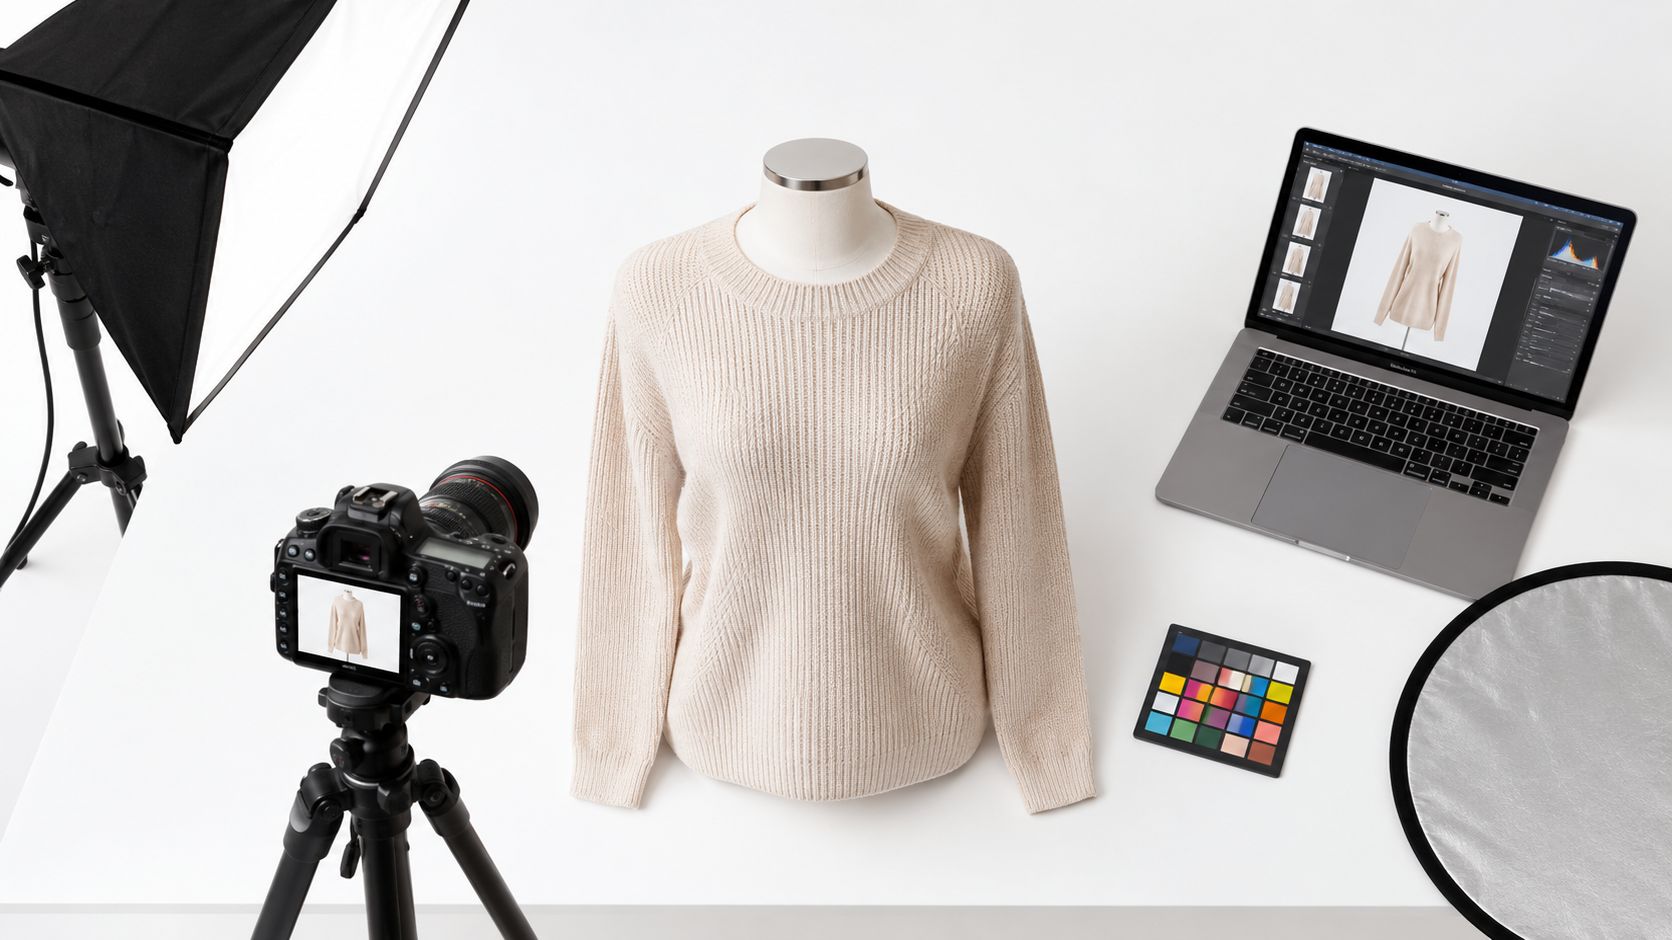
The most popular advice about clothing product photos is incomplete: make them beautiful, and shoppers will buy. Beauty helps, but an attractive image can increase returns when it hides the way a garment fits, moves, reflects light, or differs in color from the delivered item. Product photography should be treated as an expectation-management system, not decoration. Every frame either narrows or widens the gap between what a shopper imagines and what arrives.
Table of Contents
- Why Clothing Product Photos Matter Beyond Appearance
- Choosing Between Model Shots, Flat-Lays, and Ghost Mannequin
- Setting Up Lighting and Composition That Stay Consistent
- Building a Quality Check That Catches Fit and Color Errors
- Testing Image Sequences and View Variants for Conversion
- Exporting and Optimizing Images for Multiple Channels
- Putting It All Together in a Repeatable Clothing Photo Workflow
Why Clothing Product Photos Matter Beyond Appearance
A collection launches with polished campaign traffic, strong click-through, and plenty of product-page visits. Yet shoppers hesitate at the gallery, conversion underperforms, and customer service starts hearing the same complaints: the satin looked different, the dress fell differently, and the color wasn't what the customer expected.
That pattern usually isn't solved by adding another lifestyle pose. It starts with asking whether the gallery answers the questions a shopper can't ask in person. Online buyers can't feel the fabric, inspect the seams, judge opacity, compare the garment with their own proportions, or see how the color behaves under neutral light. Your images have to supply that missing evidence.
A 2023 peer-reviewed study in Marketing Science found that online fashion-item return rates ranged from 13% to 96%, averaging 53%, and showed that prelaunch product imagery could predict item-level return behavior. The study also reported a potential 8.3% profit improvement when retailers used those signals for assortment decisions, as documented in the Marketing Science study on product imagery and returns.
The three jobs of a product image
Clothing product photos perform three connected jobs:
- Attract attention: A clear silhouette and confident composition earn the initial click.
- Communicate attributes: Views reveal construction, texture, length, color, closures, and styling context.
- Manage commercial risk: Accurate representation reduces the chance that a purchase is based on a false visual assumption.
Treat the gallery like part of your product information system. The hero image identifies the item, the technical views establish its shape, the close-ups prove its details, and the on-body images show how it behaves in use. A beautiful image that omits those answers is incomplete merchandising.
Choosing Between Model Shots, Flat-Lays, and Ghost Mannequin
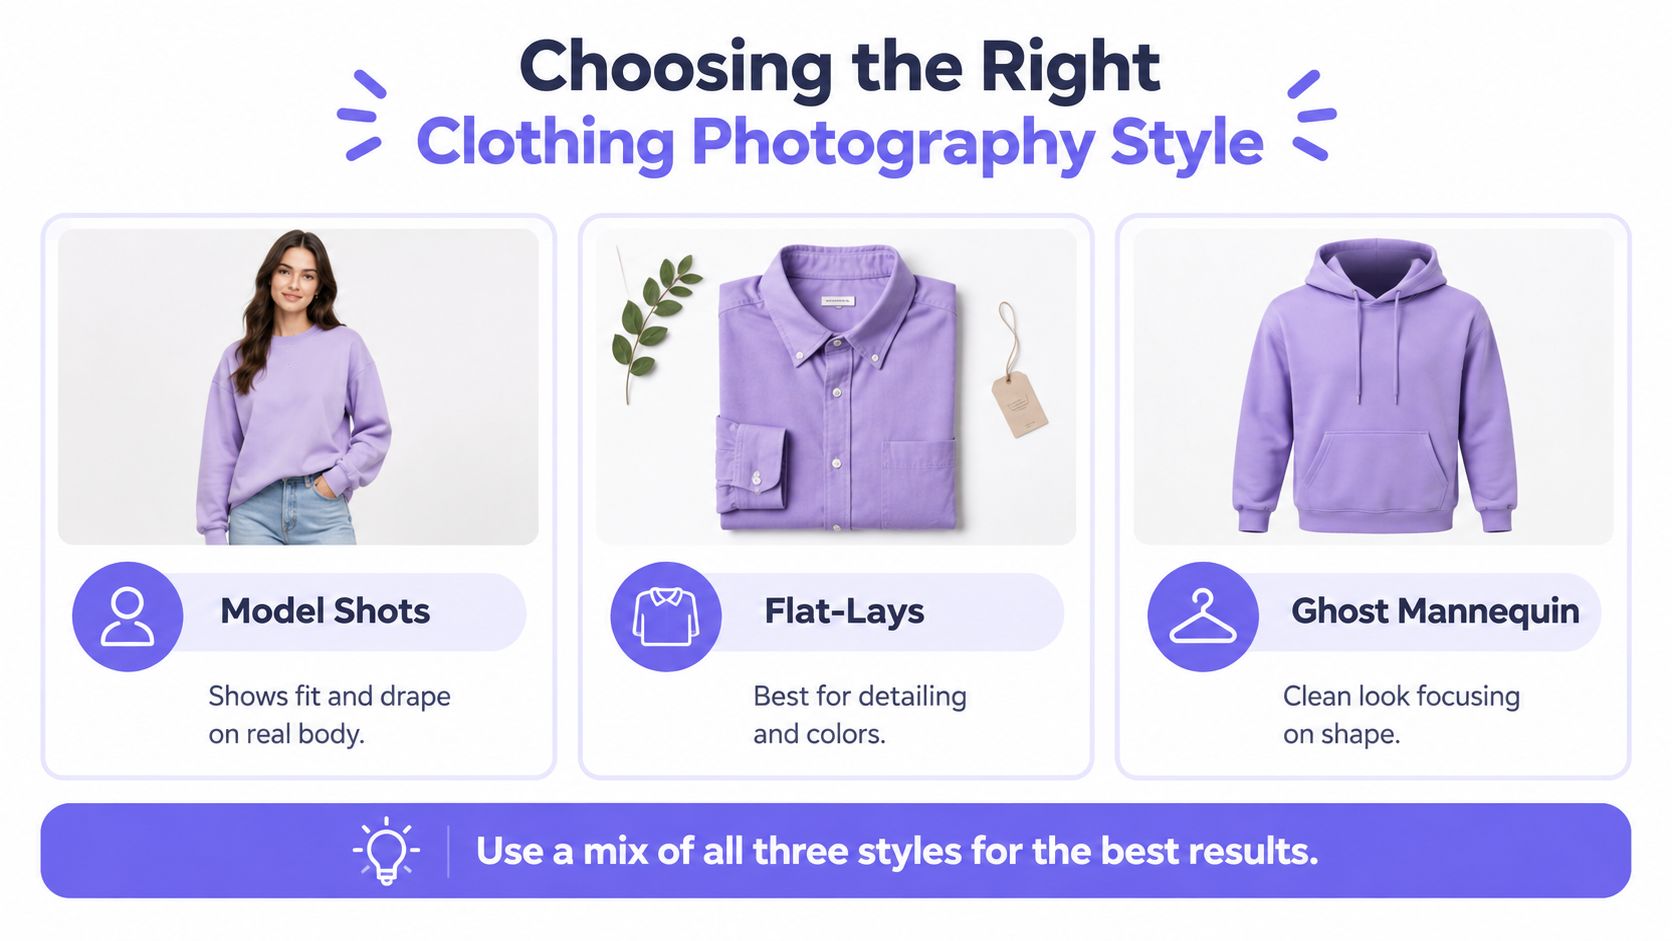
No single photography style can answer every clothing question. Model shots communicate scale, drape, movement, and styling. Flat-lays expose construction and color with minimal interpretation. Ghost mannequin images preserve a three-dimensional silhouette while keeping the product grid clean.
More than 85% of online clothing buyers in a study cited by ecommerce research placed greater weight on visuals than text, while a separate survey found that 66% of shoppers wanted at least three product images before buying, according to research summarized by Centra on fashion product photography. Image quantity matters, but only when each view answers a different question.
Model shots
Use a model when shoppers need to understand proportion and behavior on a body. A long dress needs visible length. A knit needs to show stretch and recovery. A cropped jacket needs a waist reference. Front, side, and back poses are more useful than a sequence of near-identical editorial poses.
The trade-off is interpretation. Styling, posture, body shape, and lighting can make a garment appear more or less fitted than it is. Add model height, worn size, measurements, and garment dimensions so the photograph doesn't carry the entire burden.
Flat-lays
Flat-lays work well for texture, color, labels, prints, closures, and component comparison. They're efficient for a large catalog and provide a stable reference for AI-generated variations. Their weakness is fit. A flat garment can't reliably show how fabric hangs from shoulders, how a hem moves, or whether a waistband compresses.
Ghost mannequin
Ghost mannequin imagery sits between the two. It keeps the garment's structure visible without a model competing for attention. It's particularly useful for front and back catalog views, though it needs careful compositing around collars, armholes, labels, and hems. A practical ghost mannequin photography workflow can support clean product views, but it shouldn't replace on-body evidence when fit is the main source of uncertainty.
The strongest gallery usually combines the formats: product-only recognition first, technical coverage next, then model or styled context. Mixed usage is more informative than forcing every SKU into one visual treatment.
Setting Up Lighting and Composition That Stay Consistent
A catalog can lose trust through visual inconsistency before shoppers question the garments. If one SKU is cool and shadowless, the next warm and contrasty, and the third tightly cropped, customers may read the differences as product differences. Consistency beats isolated perfection because every image helps set expectations for fit, color, and construction.
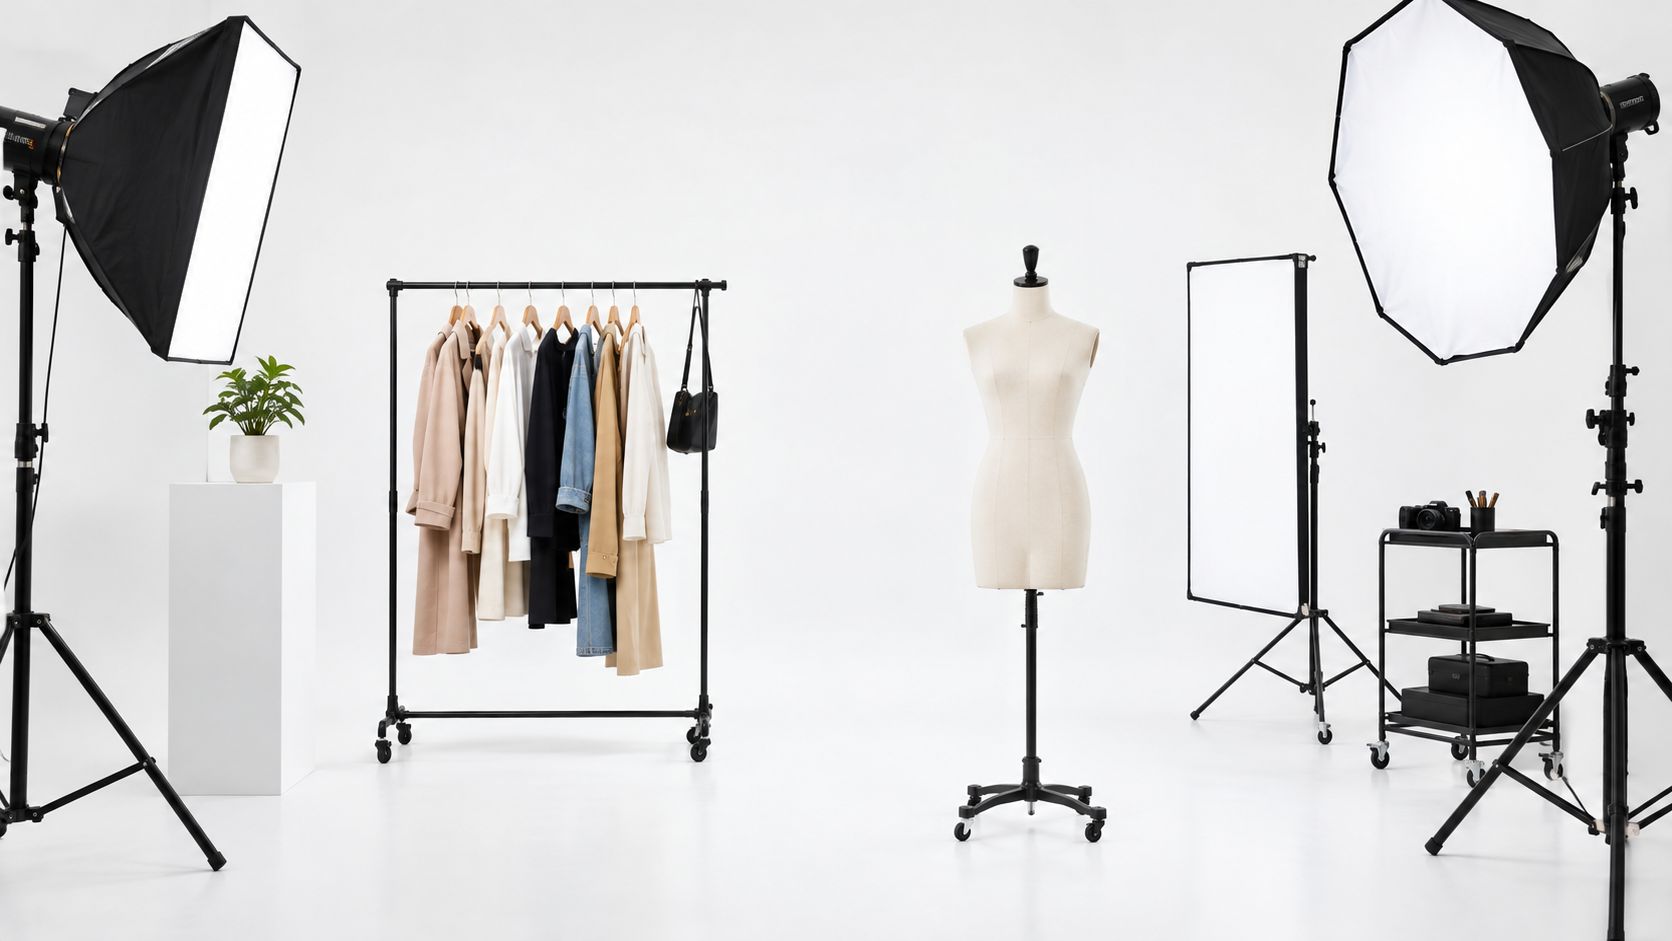
Lock the capture specification
Document the variables that must stay fixed before photographing or generating the first garment:
- Camera height and angle
- Focal length
- Garment-to-camera distance
- Light position and intensity
- Background and crop
- White-balance and color workflow
- Model framing and pose conventions
For a physical shoot, mark camera and garment positions on the floor. Use manual exposure and fixed white balance. Steam, lint-roll, and inspect each garment before capture. A repeatable setup will reproduce wrinkles as reliably as it reproduces clean lines.
For AI-generated images, begin with a verified garment reference and a restrained prompt. Specify the background, camera perspective, crop, lighting direction, pose category, and required garment details. Prompts built around “luxury,” “perfect fit,” or “editorial polish” can encourage beautification that changes the item. Reference fidelity matters more than visual drama when the image must support a purchase decision.
Practical rule: Create one canonical product reference first. Generate variations from that reference, not from a chain of previously generated images.
Standardize the frame
Use your primary marketplace's published image specification as the production baseline. A common starting point is 2,000 × 2,000 pixels, JPEG or WebP, a 1:1 canvas, and a pure-white RGB 255/255/255 background. Check the marketplace requirements before final export, since accepted formats, dimensions, and background rules can differ.
Apply the same crop logic across the catalog. Keep the master asset large enough for reuse, then derive channel versions from it. Do not enlarge a small, compressed marketplace file and expect texture or color to recover.
Record the approved lighting, framing, and color settings alongside the asset. That documentation lets a studio team and an AI workflow produce compatible outputs, so shoppers receive the same visual evidence across product pages and channels.
Building a Quality Check That Catches Fit and Color Errors
Treat image approval as merchandising QA. A polished frame can still misrepresent the product if the sleeve runs long, the print is enlarged, the fabric looks opaque, or the color shifts toward a more flattering shade. Those errors set an expectation the delivered garment cannot meet, increasing the risk of returns.
Start with a physical garment or an approved master reference. Compare the final image under neutral viewing conditions, then inspect the details shoppers use to judge construction and fit. The same checkpoint should apply to studio photographs and AI-generated outfit imagery.
What to compare
- Silhouette: Check shoulder width, waist placement, hem shape, sleeve volume, and overall length.
- Construction: Verify seams, pleats, pockets, buttons, zippers, straps, labels, and hardware.
- Surface behavior: Look for accurate texture, sheen, transparency, ribbing, quilting, and print scale.
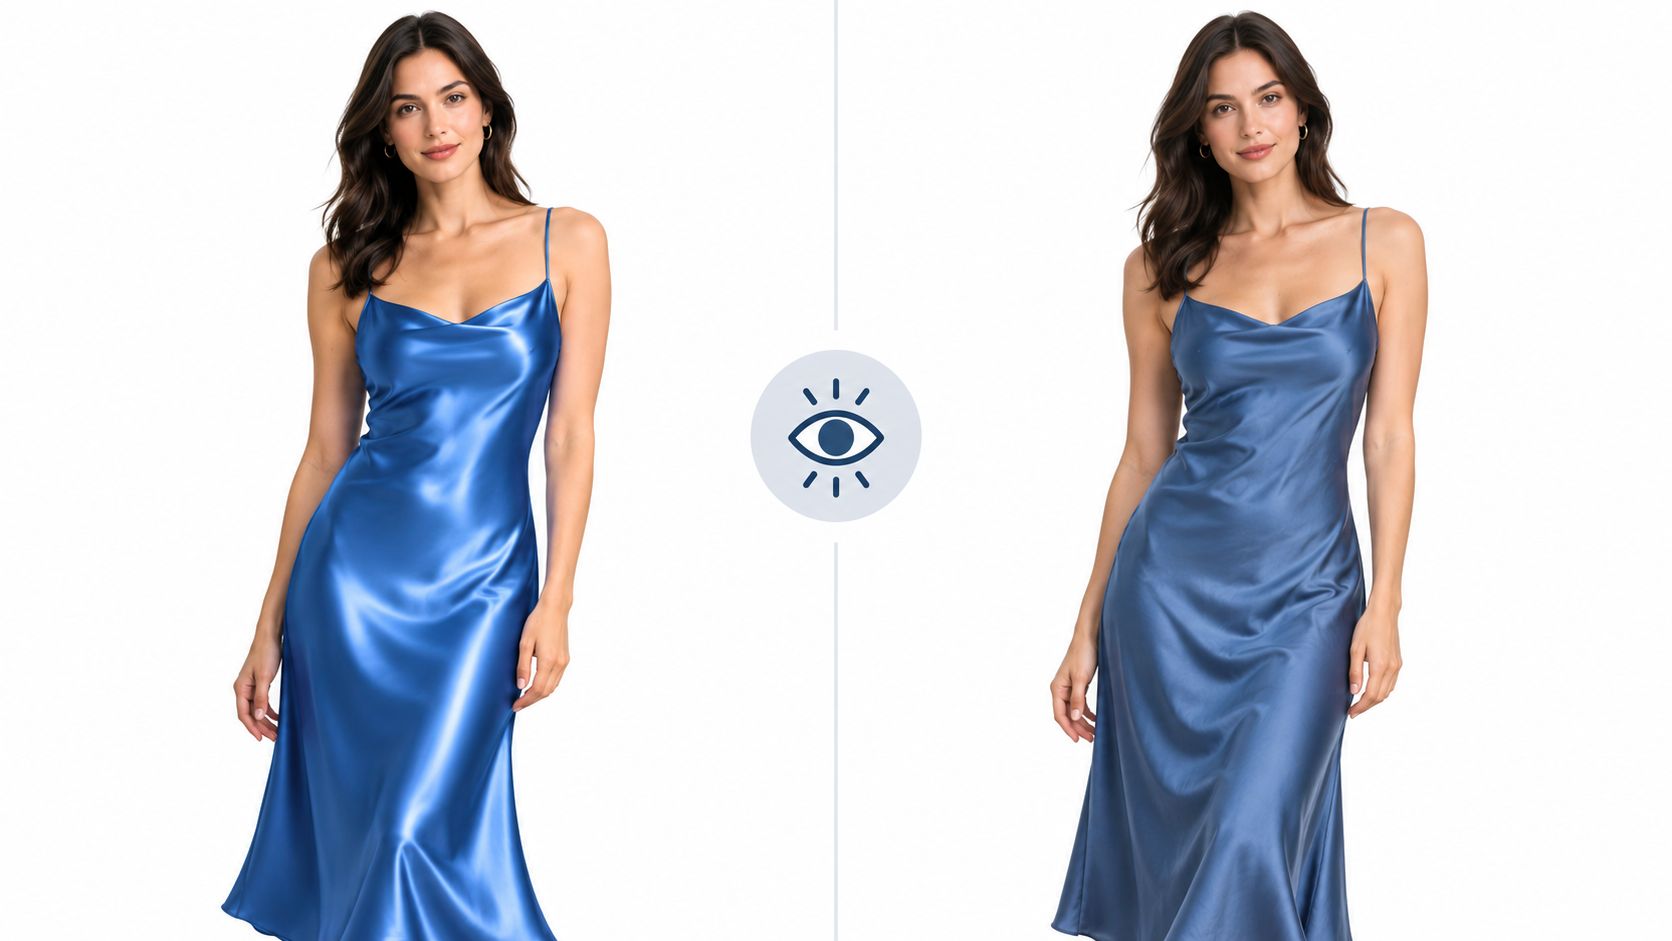
- Color: Compare the image with the garment under neutral light. Satin, velvet, neon dyes, and dark knits need extra scrutiny because highlights can alter perceived color.
- Fit evidence: Confirm that poses do not hide pulling, compression, gaping, or unusual drape.
The most damaging retouch can look highly professional. Removing every crease, flattening texture, narrowing the silhouette, or correcting a natural fold may produce an image that sells a fantasy rather than the item. Preserve the garment's relevant imperfections when they help shoppers understand how it actually wears.
A previously cited VOVV statistics summary attributes 22% of apparel returns to products looking different from their photos. Treat that figure as a warning about expectation gaps, not as proof that one QA process will eliminate returns.
Make approval accountable
Assign one person to verify garment fidelity and another to review presentation and channel compliance. Require each rejection to name the defect, such as “collar opening reconstructed incorrectly” or “navy reads as black under current lighting.” Feedback such as “make it pop” creates avoidable inconsistency.
For generated imagery, inspect anatomy, hands, repeated patterns, logos, garment boundaries, and impossible folds. Keep the unretouched reference beside the final asset in the library. That comparison keeps a visually impressive output from becoming the source of truth when it has changed the product.
Testing Image Sequences and View Variants for Conversion
A product gallery is a sequence, not a pile of files. The first image earns recognition, the next views remove uncertainty, and later frames add context. Changing that order can affect how quickly shoppers understand the item, but the result depends on category, device, traffic source, and the quality of the underlying images.
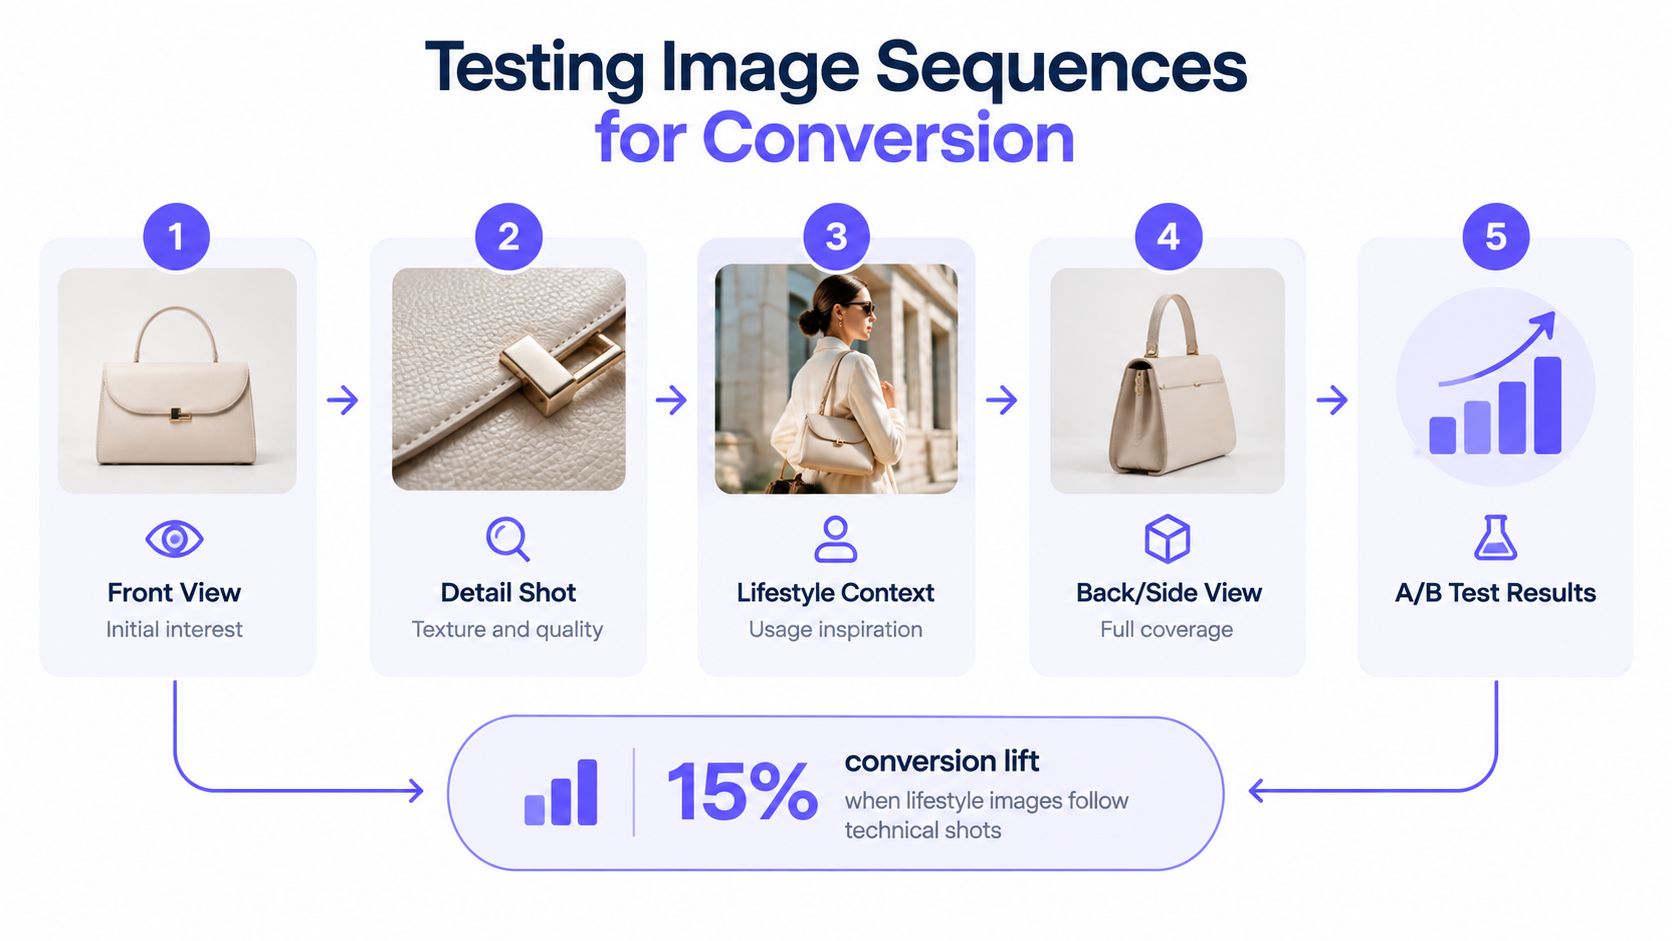
A sensible starting sequence is:
- Front product view: Establishes the item and color.
- Detail shot: Shows texture, finish, closure, label, or construction.
- On-body or lifestyle view: Adds scale, drape, and usage context.
- Back or side view: Exposes coverage, shape, and rear construction.
- Additional evidence: Includes alternate pose, fabric behavior, or a relevant close-up.
Available industry benchmarks report conversion lifts of up to 63% from larger product images, 22% from 360-degree imagery, and directional gains of 65% for listings with more high-quality views in the SellHound summary of product-photo benchmarks. These are hypotheses for testing, not universal outcomes. The underlying categories, traffic, baselines, and study methods differ.
Design a clean experiment
Test one meaningful change at a time. Compare a technical-first sequence with a model-first sequence, or add a detail crop without changing price, copy, promotion, or availability. Use randomized traffic and define purchase completion as the primary metric, with add-to-cart, image interaction, and returns as guardrails.
Run the test long enough to include normal weekday and weekend behavior. Segment results by device, country, product type, and new versus returning shoppers. A model image may help a dress but distract from a structured shirt, while a large detail image may matter more for knitwear than for a plain jersey top.
Don't optimize the gallery for conversion alone. If one variant generates more orders and more “not as pictured” returns, it hasn't solved the commercial problem. Track return reasons and inspect customer messages alongside the dashboard.
Exporting and Optimizing Images for Multiple Channels
The final export can undo a careful shoot. A product image may look accurate in the studio, then lose detail through aggressive compression, shift color after an incorrect profile conversion, or crop the hem in a social template.
Keep a high-resolution master with the original color workflow. Export working derivatives in sRGB, preserve enough resolution for zoom, and use JPEG or WebP according to the destination's compatibility and upload rules. The previously cited marketplace-oriented baseline of 2,000 × 2,000 pixels, a square canvas, and white RGB 255/255/255 can guide product-page assets, but each channel still needs its own specification.
Use a simple asset structure
- Master: High-resolution source, untouched and retained by the creative team.
- PDP: Product-detail version with consistent crop, background, and zoom capability.
- Marketplace: Channel-compliant dimensions, naming, and background.
- Social and ads: Aspect-ratio variants that keep the garment fully visible.
- Archive: Approved reference, rejected versions, and QA notes.
Name files with the SKU, color, view, and revision. For example, use a pattern such as SKU-color-front-v02, rather than final-final-new.jpg. Store alt text and product metadata in the catalog system, not in a designer's private folder.
Review every derivative at actual display size on mobile and desktop. Check the white background, fabric texture, edge quality, and color against the approved reference. An outfit photo editor workflow can help prepare variations, but automation still needs a final human check before publication.
Putting It All Together in a Repeatable Clothing Photo Workflow
A reliable workflow starts before the camera or generator opens. The team first creates a verified garment reference, including color, construction, measurements, labels, and approved styling direction. That reference becomes the control point for studio images, ghost mannequin composites, model shots, and AI-generated outfit variations.
A practical sequence looks like this:
- Prepare the garment: Steam it, remove lint, inspect defects, and record the correct color and details.
- Capture the reference: Photograph a controlled product view with enough evidence for texture, construction, and shape.
- Create the core gallery: Produce front, back, side or detail, and close-up views using fixed composition rules.
- Add context: Use a model, styled scene, or generated outfit image to show scale, drape, and use.
- Run fidelity QA: Compare every output with the physical garment or approved reference.
- Export derivatives: Create channel-specific files from the approved master.
- Measure outcomes: Review purchase behavior, add-to-cart activity, image interaction, and return reasons.
That sequence supports both traditional photography and AI production. A hero garment may justify a controlled studio shoot, while a broad catalog may use consistent source photos and generated outfit imagery. The important distinction is that AI variations should extend the verified product record, not replace it.
A consumer study found that 82.2% of respondents were concerned about differences between online product images and the delivered item, while 83.6% said visual presentation influenced purchase decisions, according to the consumer research report on online product imagery. The commercial lesson is straightforward: shoppers want persuasive images, but they also want evidence they can trust.
For teams building this process across a catalog, the AI fashion product photography workflow can connect garment references, people, styling, editing, and export in one production path. Keep human approval at the point where visual interpretation could change the product.
Vtry AI helps fashion teams create outfit imagery by combining uploaded garments and people, then refine outputs with prompts, editing controls, and channel-ready exports. Use it alongside accurate product references to scale model and styled clothing product photos without losing the QA discipline that protects customer expectations. Visit Vtry AI to explore the workflow.
Refined using the Outrank app