create my own outfit
How to Create My Own Outfit That Actually Works
Learn how to create my own outfit with confidence using color, fit, and wardrobe rules plus AI virtual try-on to preview looks before you commit.
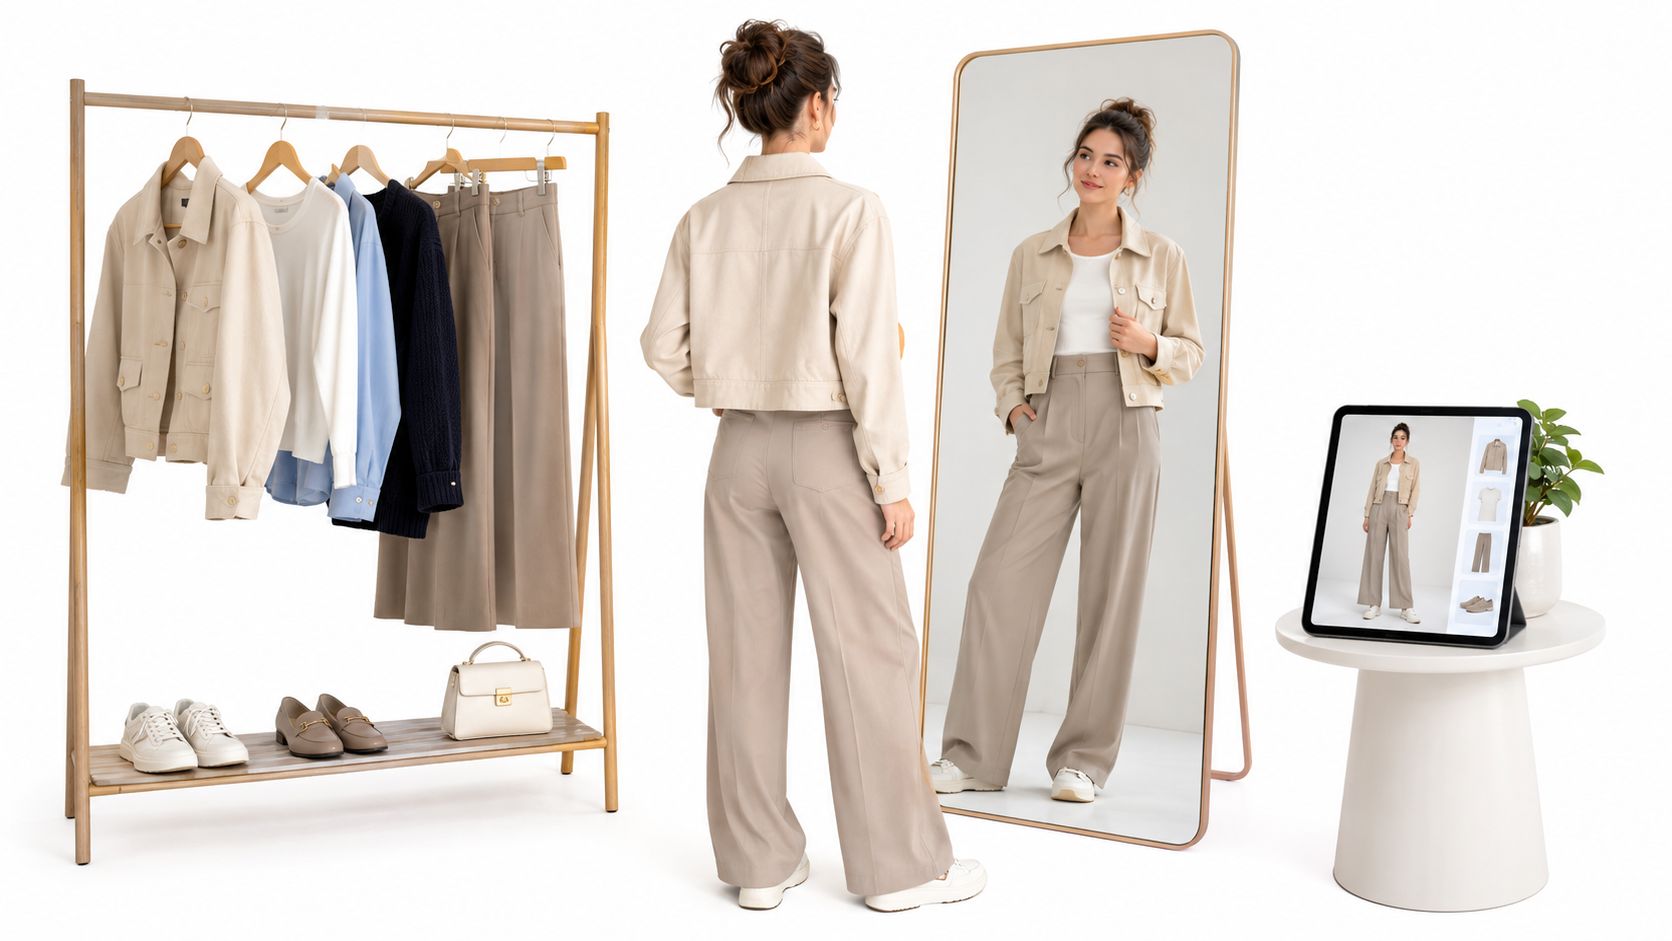
You're standing in front of a full closet with a meeting in an hour, three tops on the bed, and a cart open on your phone. Nothing is wrong with any single piece. Together, nothing works. That's the moment most people type create my own outfit into a search bar, hoping for inspiration. You don't need more inspiration. You need a system.
Table of Contents
- Why Building an Outfit Feels Harder Than It Should
- A Practical Loop for Mixing and Matching Pieces
- Fit First, Style Second
- Designing Outfits From What You Already Own
- Using Virtual Try-On to Preview and Iterate Looks
- Common Styling Mistakes and the One-Line Fix
- Your Repeatable Outfit Checklist
Why Building an Outfit Feels Harder Than It Should
You buy garments one at a time. You wear them in combination. That mismatch causes most of the frustration.
A jacket looks sharp on a product page, then fights every trouser you own. A dress photographs well, then pulls when you sit. A color you loved in the store turns flat next to your shoes. When you judge pieces in isolation, you can't predict silhouette, proportion, or fit in the complete look. So you guess, wear the safest version, and leave the rest unworn.
I've watched clients do this for years, and sellers do the same thing on photoshoots. They style for the hanger, not for a body in motion on a real day. The result is predictable. Returns pile up, good garments sit idle, and you keep buying one more thing to fix a combination problem.
The Actual Problem Isn't Taste
You can spot a good outfit when you see one. The failure happens earlier, in the order of decisions. Start with color or trend, commit emotionally, and only later discover the shoulder is wrong, the hem cuts the leg badly, or the layer won't close.
Flip the order. Decide the job the outfit has to do, check fit, then coordinate color and texture, then preview the whole composition before you commit. Each step is small. Together they remove the guesswork.
Don't ask if you like each piece. Ask if the pieces do one job together without fighting your body.
What You'll Use From Here
Build two habits and you'll stop starting from zero every morning.
- A personal rubric: Score any look on function, fit, balance, and context before you wear it, buy into it, or publish it to a catalog.
- A preview loop: Assemble, view the full outfit, change one variable, and compare. Never redesign everything at once.
That loop works whether you're dressing yourself, styling a client, or building complete looks for a store. If you want to create my own outfit results that survive contact with real life, stop hunting for a perfect item. Start testing combinations.
A Practical Loop for Mixing and Matching Pieces
Use a three-pass loop. It sounds formal. In practice it takes minutes, and it stops the most common error I see, which is making every garment equally loud.
Pass One Locks the Job and the Anchor
Name the use case in plain language. Coffee meeting where you need to look competent but approachable. Long flight, then straight to dinner. Office presentation, then commuting in rain. The use case decides acceptable length, coverage, fabric weight, and shoe choice before aesthetics enter the conversation.
Then pick one anchor garment. That's the piece that sets the silhouette and tone. A fitted trouser, a structured blazer, a bias skirt, a strong boot. Everything else supports it. If you pick two anchors, they'll argue, and you'll spend twenty minutes refereeing.
For example, take a plain white shirt. With a pleated trouser and loafers, it's the quiet base for a meeting. With wide jeans, a cropped jacket, and sneakers, it's a travel layer you can strip down or button up. With a satin skirt and a heeled sandal, it becomes dinner. The shirt didn't change. The anchor and the job did.
Pass Two Adds Controlled Contrast
Add supporting pieces by varying at least one attribute each time, either color, texture, proportion, or structure. A soft knit over a crisp trouser. A matte shoe under a shiny skirt. A cropped jacket over a longer line underneath. Contrast is what gives an outfit movement instead of turning it into a wall of similar fabric.
Don't chase perfect color matching. A peer-reviewed experiment with 239 participants found a statistically significant quadratic relationship between color coordination and perceived fashionableness, with the highest ratings at moderate coordination and an R-squared of 0.44 versus 0.18 for a linear model, as described in the study on color coordination and fashionableness. Translation for your closet: a neutral base plus one accent usually beats head-to-toe matching and beats deliberate clashing. Aim for related, not identical.
Pass Three Reads the Whole Look
Step back and read the composition against the original brief, not item by item. Where does the eye land first? Is that where you want it? Does the longest line help you or cut you in half? If something's off, change one variable only, then look again.
Pin this to your closet door:
- Name the job: occasion, weather, movement, dress code.
- Choose the anchor: one garment leads.
- Add support: vary texture, proportion, color, or structure.
- Preview complete: judge the full silhouette, not the pieces.
- Swap once: fix the weakest element, then stop.
Bend the rules after you can run the loop cleanly. A monochrome look works when textures differ enough. A matched set works when the fit is impeccable. Rules aren't cages. They're defaults that save you when you're tired, rushed, or styling under client pressure.
Fit First, Style Second
I'll be blunt. A beautiful color story won't rescue a shoulder seam hanging off your arm. Fit is the highest-risk step in outfit building, and most guides treat it as an afterthought.
Online apparel returns run as high as 24.4%, with size or fit cited as the leading reason by 53% of surveyed sellers, while one enterprise benchmark places overall online returns at 19.3%, according to fashion ecommerce return benchmarks. That's not a taste problem. That's a verification problem, and you can solve much of it before anything ships or gets photographed.
Record Measurements Once, Properly
Create a fixed measurement card and stop trusting labels. Record chest or bust, natural waist, hip, inseam, shoulder width, and height. Measure the same way every time, over the undergarments you'd wear.
Then compare those numbers to each garment's size chart and, where available, its actual construction measurements. Brands grade differently, fabrics stretch differently, and a nominal size tells you almost nothing across labels. If you're building looks for clients or customers, keep garment metadata alongside the image, including fiber content, stretch, cut, and care constraints. When a look fails, you'll know whether to fix size, fabric, or silhouette.
If you're exploring measurement technology for this step, read about full-body 3D scanning for fit capture and compare it against your manual protocol rather than replacing judgment with a gadget.
Run a Movement Audit
Static poses lie. Put the outfit through motion.
- Shoulders and sleeves: Raise your arms, reach forward, check for tension across the back.
- Waist and closures: Sit, bend, breathe deeply. Waistbands shouldn't dig and jackets should close over the intended layer.
- Length and break: Walk. Trousers shouldn't pool, sleeves shouldn't swallow your hands.
- Stress points: Look for pulling at bust, hip, and seat, plus opacity when fabric stretches.
- Layering clearance: A coat that fits over a tee may fail over knitwear. Test the bulkiest planned combination.
Acceptance gate: Reject the look if any primary garment fails mobility, opacity, closure, or proportion. Don't negotiate with a failed gate because the color is pretty.
If it passes, rate fit, color balance, and context suitability separately. Keeping those scores apart matters. Visual balance and physical comfort aren't the same thing, and a polished preview can hide incompatible grading or stretch that only appears when a person moves, sits, or carries a bag.
Identify the garment with the highest fit risk first, usually the most structured or least stretchy piece. Build around its constraints. Define what can be altered, like hem length, and what can't be fixed cheaply, like shoulder width. Have a substitution ready when it fails. That's how professionals dress bodies that don't match a sample size, including fuller busts, curves, shorter inseams, and anyone between sizes.
Style second isn't an insult to style. It's sequencing. Once fit passes, your styling choices stay on the body the way you intended.
Designing Outfits From What You Already Own
Most outfit advice assumes you should buy something. I disagree. Start with inventory, because most closets aren't empty. They're under-combined.
A study of 30 wardrobes in Flanders found an average of 169 garments per participant, 138 worn in the past year and only 90 considered essential, with combinability the strongest predictor of which pieces stayed in use, as reported in the Flanders wardrobe research. Read that carefully. Pieces survive because they combine well, not because they're exciting in isolation.
Audit for Combinability, Not Novelty
Pull your most-worn pieces and ask why they earn repeat wear. Usually it's boring virtues. They fit without adjustment, work across weather, sit comfortably, and pair with several shoes. Now pull the orphans, the printed skirt that matches nothing, the blazer that's too formal for your actual life. Don't shame them. Diagnose them. Each orphan usually needs one connector, a specific shoe, a plain top in the right length, or an alteration.
Cluster garments by compatibility instead of category. A work cluster, a travel cluster, a weekend cluster, with honest overlap. Then count complete outfits per cluster, including shoes and outer layers. That count is your real wardrobe size. If you want a visual workspace for testing combinations from photos you already have, an outfit photo editor for recombining existing pieces can help you trial pairings before you drag everything onto the bed.
Ask the highest-value question in wardrobe planning. Which single missing item opens up the most new combinations? Often it's unglamorous. A mid-tone shoe. A jacket that closes over knitwear. A trouser hemmed for the boots you wear. Buy connectors, not duplicates.
Five Core Pieces, Nine Outfits
| Core Piece | Office Look | Travel Look | Weekend Look |
|---|---|---|---|
| White shirt | With tailored trouser | Open over tee with trouser | Tucked into denim |
| Tailored trouser | With shirt and blazer | With knit and sneakers | With tee and overshirt |
| Dark denim | With blazer on casual days | With knit for transit | With shirt and boots |
| Fine knit | Under blazer | Layered over shirt | Alone with denim |
| Unstructured blazer | Over shirt and trouser | Over knit and denim | Over tee and trouser |
The table isn't a shopping list. It's a counting exercise. Five compatible pieces, plus shoes you already own, produce nine distinct combinations across three contexts. Add one connector and the count jumps again, without a full wardrobe overhaul.
Adapt one base look across conditions instead of inventing a new outfit daily. Swap the shoe for weather, add the knit for cold offices, remove the blazer for heat, change the bag for dress code. Repeat wear isn't failure. It's evidence the system works.
When you create my own outfit plans from existing stock, you also learn faster. You discover your real color tolerance, your actual heel limit, and which fabrics you avoid by noon. No trend report can tell you that.
Using Virtual Try-On to Preview and Iterate Looks
Virtual try-on earns its place when it speeds up a decision. If you're using it to generate endless novelty, you're wasting it. Use it to answer specific questions. Does this jacket work over that dress? Does the wide trouser swamp this model? Which of three colorways merchandises best as a complete look?
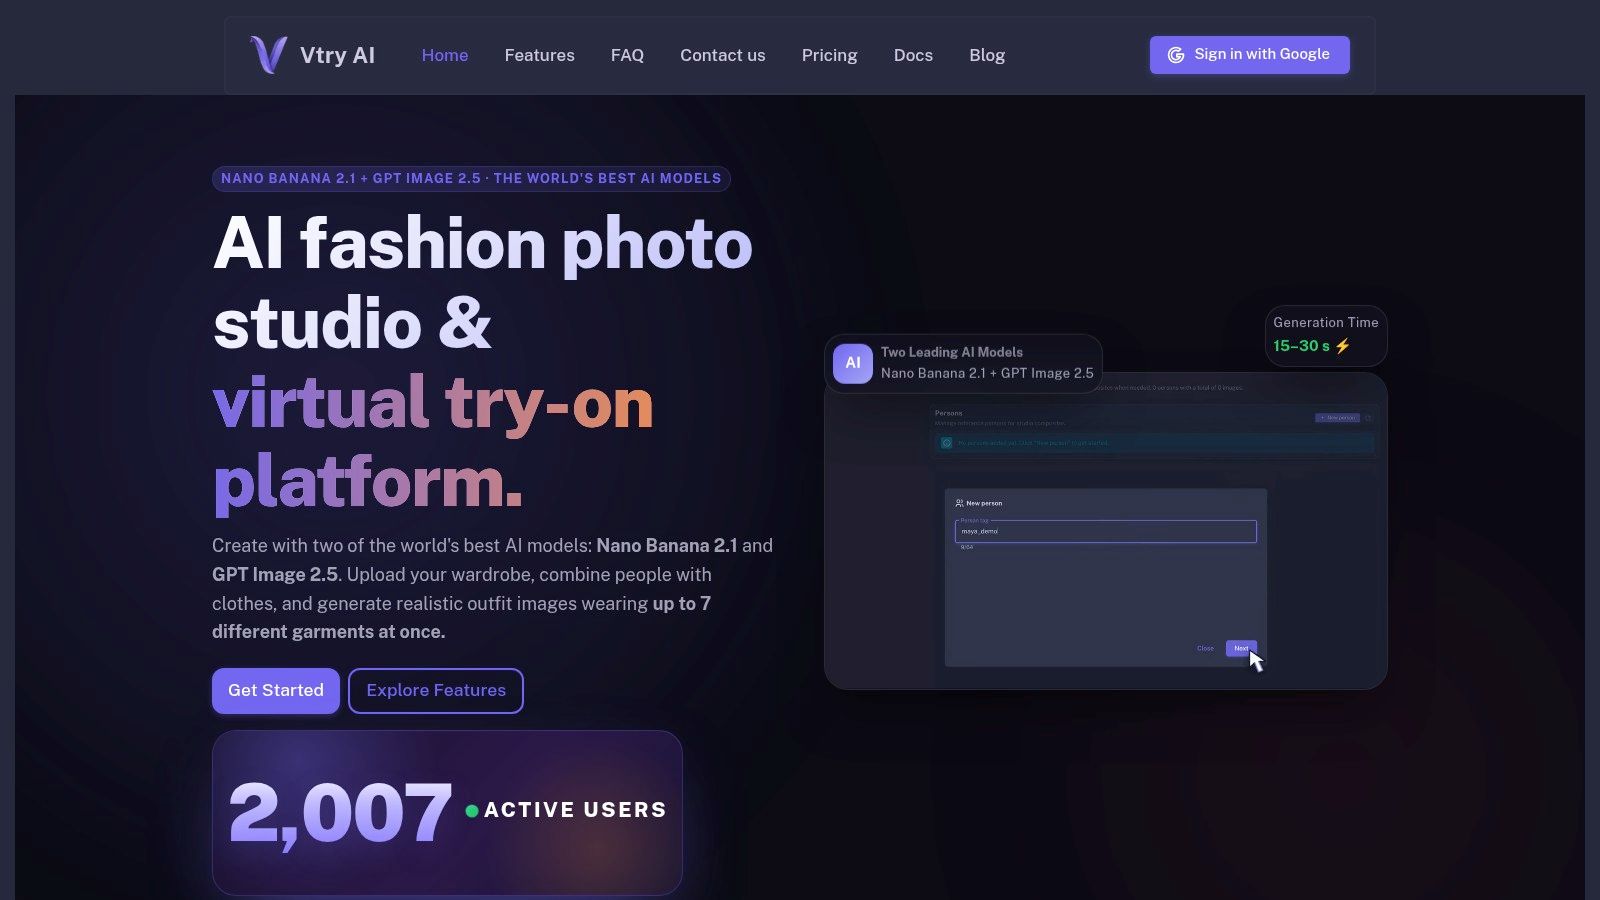
The workspace below shows the setup for building a full outfit rather than previewing one isolated item.
A Concrete Multi-Garment Workflow
In Vtry AI, import each garment by upload, product URL, or in-app search so tops, jackets, pants, dresses, shoes, and accessories live in one shared library. Select a saved person reference so the same model carries across looks, which makes comparisons honest. Then compose up to seven garments in a single generation instead of layering single-item mockups that never interact properly.
Rotate the interactive 3D camera before rendering. A silhouette that works front-on can collapse from the side, and catching that early saves a reshoot or a return. Use prompt edits to swap one layer without rebuilding the entire image, mirroring the one-variable rule from the physical loop. Finish with quick brightness, color, and contrast edits, then export in catalog or social aspect ratios.
Pay attention to the face-detection warning during import. It flags product photos containing people, which often confuse try-on models and produce muddled results. Treat it as a quality gate, not an annoyance. Clean garment inputs give you cleaner decisions. For a deeper explanation of the underlying workflow, see this overview of virtual try-on for complete outfits.
Watch the process end to end before you run your own session, paying attention to how garment order and camera angle change the read of the same look.
Tie Every Output to a Decision
Ecommerce teams can test whether a new trouser needs a tucked or untucked top on the product page. Marketplace sellers can show one garment in several full looks without booking a studio. Marketing teams can compare campaign colorways on the same person. Content creators can plan a week of outfits from pieces they own. Developers can automate generation through an API instead of producing images by hand.
Keep one boundary clear. A preview shows visual plausibility, not verified fit. It won't tell you about waistband compression after lunch or fabric stretch at the seat. Pair every generated look with the measurement card and movement audit. Used together, previewing cuts the number of physical combinations you need to test, so your time goes to the finalists instead of the obvious failures.
Common Styling Mistakes and the One-Line Fix
Keep this list open while you review any look, on yourself, on a client, or in a preview. Name the failure, apply the fix, move on.
- Every garment fights for attention: Print top, statement shoe, bold bag. Fix by demoting two pieces to quiet support.
- Color blocking flattens you: Hard horizontal bands cut the body into boxes. Fix by bridging blocks with a shared tone or longer layer.
- Prints overwhelm the wearer: Large patterns on top and bottom leave nowhere to rest. Fix by letting one print punctuate a solid base.
- Proportion cuts in the wrong place: A hem ends at the widest point of the leg. Fix by raising or lengthening that line, not by adding accessories.
- The waist disappears: Volume everywhere reads as shapeless, not relaxed. Fix by defining one point of structure, a tuck, belt, or cropped layer.
- Wrong occasion, right outfit: Beautiful, but you can't sit, walk, or stay warm in it. Fix by restating the job before touching the clothes.
Hidden fit failures deserve the same ruthlessness. Shoulder seams past the edge, fabric pulling at bust or seat, trousers pooling at the ankle, and jackets that won't close over a layer all fail the gate, no matter how clean the preview looks. Sizing inconsistency makes this worse. A 2025 Vogue Business survey of 687 US and UK readers found that 91% said their clothing size changes by brand and 38% often return clothes because they fit poorly, as covered in the Vogue Business sizing survey report. Trust measurements and movement over the label, every time.
Your Repeatable Outfit Checklist
Run four checkpoints on the next outfit you build, spending a few seconds on each. Use case and silhouette first, so the look has a job and an anchor. Fit acceptance second, using measurements and movement, not hope. Color and proportion third, aiming for moderate coordination and one clear focal point. Visual preview last, judging the complete composition and changing one variable at a time.
Decide the function, check the fit, then earn the polish.
Your first pass will rarely be your best pass. That's normal, and it's exactly why previewing matters. A second and third iteration costs little, but it separates an outfit you tolerate from one you'll repeat.
Stop guessing how pieces will work together and preview the complete look before you buy, wear, or publish it. With Vtry AI, you can import garments into one workspace, combine them on a consistent person reference, adjust the angle, swap single layers, and export finished outfit images for your closet planning, store, or campaign.