edit product photos
How to Edit Product Photos: A Step-by-Step Guide for 2026
Learn how to edit product photos step by step: set up a workflow, remove backgrounds, correct color, upscale to 4K and export for ecommerce and social.
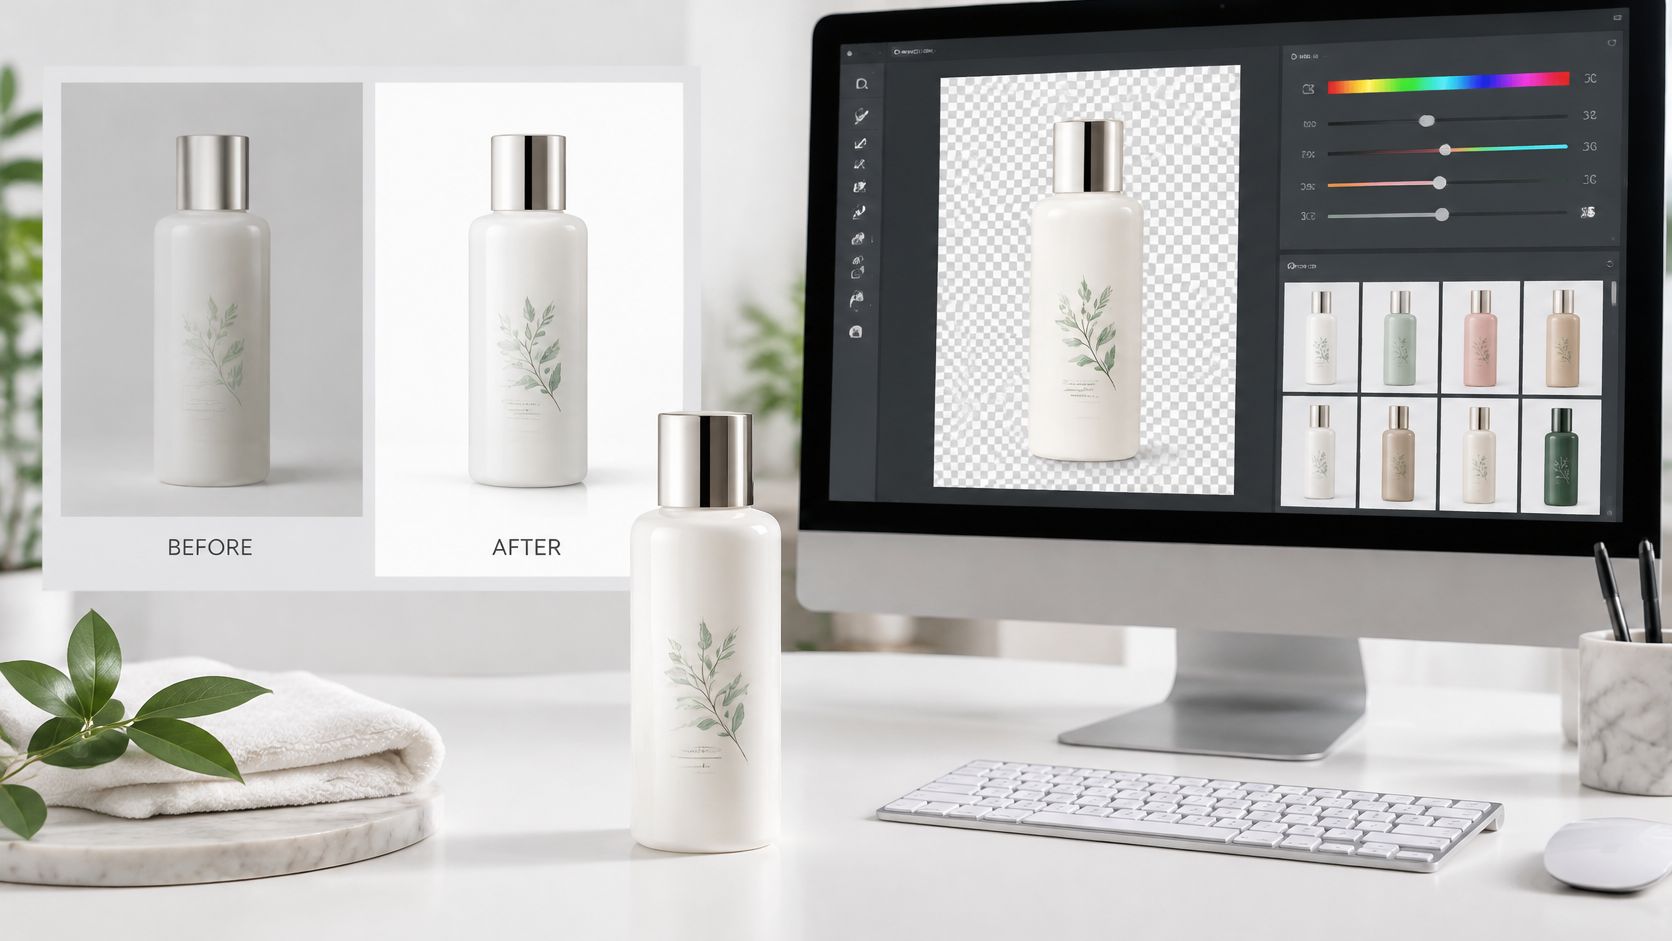
A polished product photo can still lose the sale if it doesn't match the garment in the box. Color shifts, a smoothed seam, or invented texture create returns, not conversions. That's why I treat editing as a release gate, not a finishing touch. You keep the original, check every change against the actual product, and automate only the steps you can verify.
Table of Contents
- Why Product Photo Edits Matter and What to Prepare
- How to Edit a Product Photo in Eight Steps
- Fixing Backgrounds, Shadows and Color Casts
- Resolution, Retouching and 4K Upscaling Limits
- Batch Edits and Export Presets for Every Channel
- Start a Small Automated Pilot This Week
Why Product Photo Edits Matter and What to Prepare
In 2025, 77% of consumers said high-quality product images and videos were important to their purchase decisions, according to a 2025 consumer research summary from letsenhance.io. A weak edit sends shoppers elsewhere. Before you open an editor, fix your references so each decision is checked against a known value, not taste.
Your Pre-Edit Checks
- Keep the camera original safe: Archive the RAW or largest JPEG untouched. Edit only a layered copy, so a bad decision costs a layer, not a reshoot.
- Shoot a color reference: Put a gray card or color checker in the first frame of each lighting setup. White balance from a known patch beats eyeballing a screen.
- Calibrate your monitor: Use a known profile. A warm screen makes you cool every file to compensate, and that error follows the image to every channel.
- Write a one-page spec: Set background at pure white, RGB 255,255,255, plus crop ratios, shadow rules, and the channels each file serves. The spec turns arguments into yes or no checks. It applies whether you retouch studio files or prepare assets for ecommerce, catalog, and social workflows, including product pages, campaign tests, ads, and social posts.
- Confirm rights: Publish only when you hold rights to the people, garments, brands, and source images.
Folder rule: Separate originals, layered working files, and exports. Name files by SKU and variant so nobody edits the same product twice.
That folder structure and spec let you compare every edit against the actual product before export. If the shoot is still ahead, the guide to clothing product photos covers capture choices that make this prep easier. Once the original is overwritten or the reference frame is missing, every later check is a guess.
How to Edit a Product Photo in Eight Steps
What happens to one photo between the camera and the upload? This reference-first, non-destructive workflow gives you an order that protects detail and makes every step reversible. I wouldn't reorder it casually. Each step depends on the one before it.
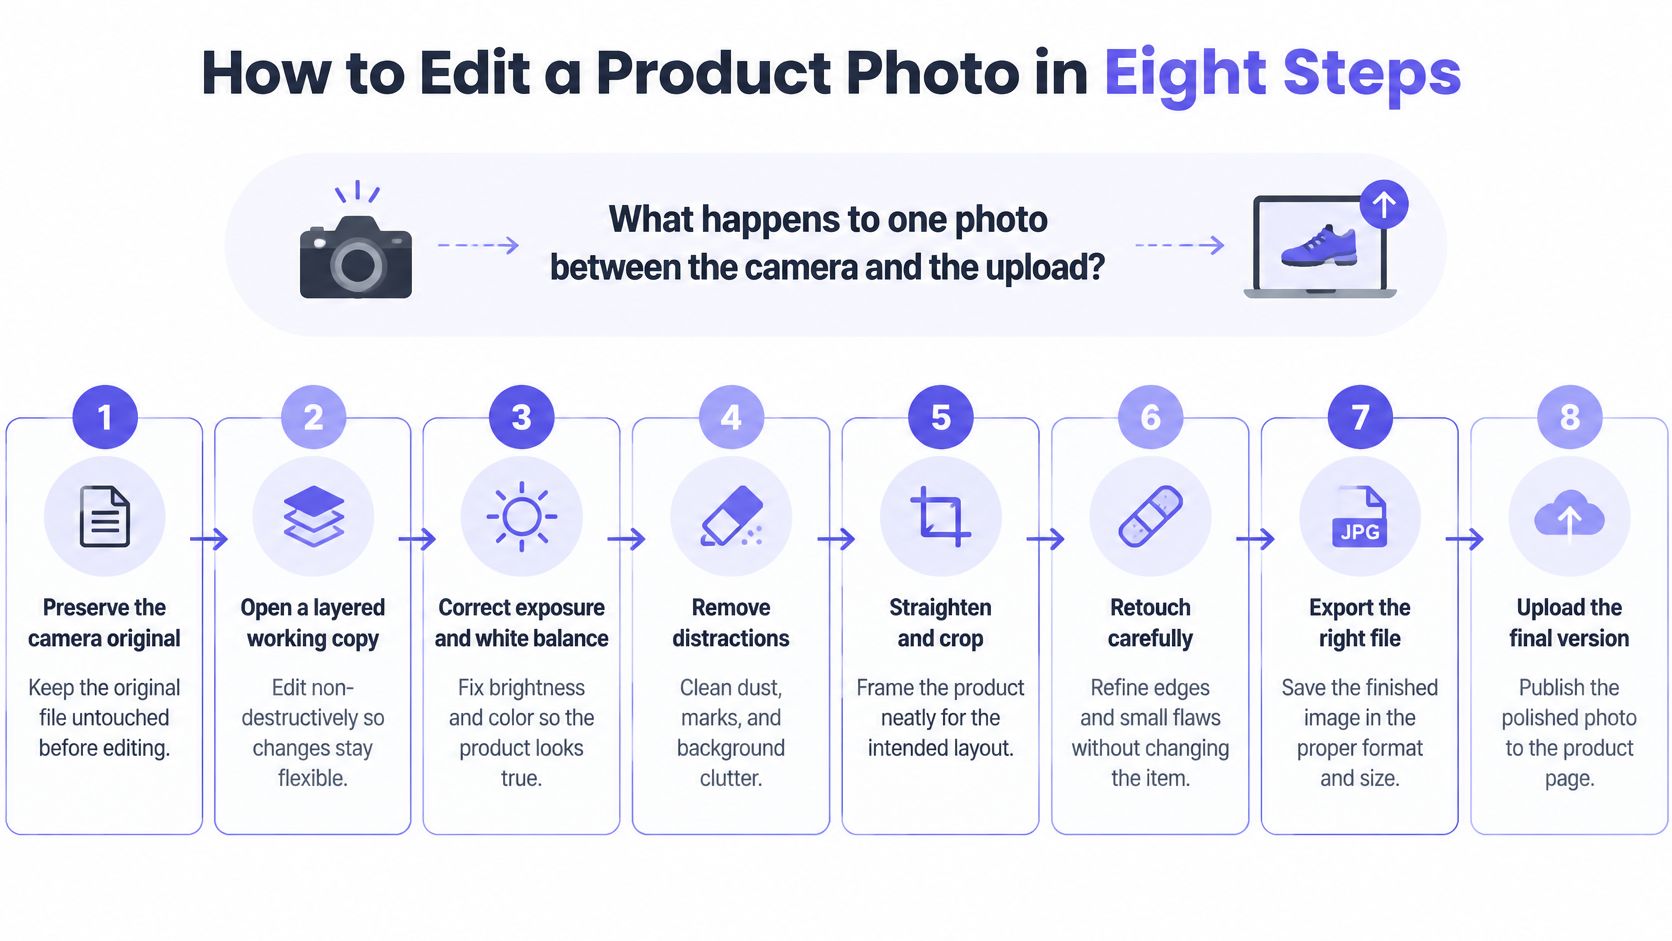
Steps 1 to 4 Build the Foundation
1. Preserve the camera original. Copy it into a layered working file before touching a pixel. If a later decision is wrong, you remove a layer instead of reshooting.
2. Neutralize white balance. Sample the gray card or known reference and set a fixed balance. Don't correct by eye on an uncalibrated display, because browser and device variation can make a neutral file shift warm, cool, or oversaturated elsewhere.
3. Correct exposure and lens distortion. Fix brightness, contrast, and barrel or pincushion distortion before masking. You want edges isolated on a stable image, not one you're still stretching.
4. Isolate the product. Use a path or high-resolution mask, then refine by hand. Automated selection usually fails on hairline edges, straps, translucent fabric, lace, and fine hardware. Zoom in and paint those areas manually.
For an AI-generated lifestyle image, isolate the change instead. In the Edit tab, you can select a gallery result or a clothes image as the source and write one simple, explicit instruction such as change the coat to navy, add a slight smile, or show the person skiing. One instruction per pass keeps the result controllable.
Steps 5 to 8 Finish Without Destroying Evidence
5. Remove dust and sensor spots at 100% zoom. Pan methodically across the full frame. Spots invisible at fit-to-screen show up clearly when a shopper zooms.
6. Normalize the background. Set it to RGB 255,255,255 and verify with an eyedropper in several areas, not just one corner. Avoid aggressive background removal that clips natural shadow edges or leaves bright halos.
7. Resize, then sharpen. Apply restrained sharpening after resizing. Sharpening before compositing boosts edge contrast and amplifies small masking defects into visible fringes.
8. Export an sRGB derivative. Keep the high-resolution master and save the web file separately in sRGB with the same profile across the SKU family. Test representative files on multiple screens before publishing.
A finished file at 100% should show clean edges, no clipped shadow detail, and color that matches the physical sample beside your monitor. If it fails any of those checks, it isn't finished, however good it looks small. That discipline is the core of how to edit product photos for a catalog you can defend.
Fixing Backgrounds, Shadows and Color Casts
Fix the defect that costs the most sales first. For most catalogs, that's color and edge quality, because shoppers notice a fringe or a wrong shade before they notice anything else. Use this lookup, then apply the reasoning underneath.
| Defect | Likely cause | Fix |
|---|---|---|
| Halo or light fringe around the product | Mask too tight, or sharpening applied before masking | Refine the mask edge, then sharpen after compositing |
| Shadow clipped or floating | Shadow removed during background cut or added at the wrong opacity | Rebuild the shadow on its own layer, or drop it for no-shadow channels |
| Background not pure white | Auto-levels left the backdrop slightly off white | Set the background to RGB 255,255,255 and verify with an eyedropper |
| Color shifts on other screens | Uncalibrated display or eye-based correction | Calibrate the monitor, correct against the gray card, and test on two screens |
| Fabric looks oversaturated | Saturation boosted to make the product pop | Compare with the physical sample and check each variant side by side |
| AI result alters seams, prints or silhouette | Generation changed garment structure | Reopen in the Edit section and describe one fix, or regenerate if the structure changed |
Shadows deserve a default, not improvisation. In 2024, 91.53% of product images processed by Pixelz used no shadow, according to Pixelz's E-commerce Visual Trend Report 2024. Suppressing the shadow is therefore the standard treatment for most channels. Add a drop shadow only when your spec calls for it, and build it on its own layer so you can adjust opacity without touching the product.
Edges and Color Need Physical Checks
A mask that's one pixel too tight leaves a light fringe once the product sits on white. Contract the selection slightly, feather only where the material is soft, and inspect straps and translucent edges at 100%. Refine the mask before sharpening, or you'll sharpen the flaw.
For color, never trust one screen. Check the file on two or three displays and against the physical sample under consistent light. If variants drift apart, correct the whole family together rather than pushing one file at a time.
Generated results need the same discipline. If a generated result doesn't look right, you can open it in the Edit section and describe what to fix with a prompt. Use one exact fix for a small error. Regenerate when a seam, print, or silhouette has changed structurally, because a prompt can't reliably rebuild construction.
Resolution, Retouching and 4K Upscaling Limits
Shoppers inspect before they read. In Baymard Institute's large-scale usability testing, 56% of users immediately began exploring product images after arriving on an ecommerce product page, while 25% of sites lacked sufficient image resolution or zoom. Your finished file has to survive a close look at seams, prints, hardware, and fabric weave.
Check every hero image at 100% zoom first. If detail breaks there, no crop or filter will save it.
Retouch, Upscale, or Reshoot
- Retouch when detail exists: Remove dust, stray threads, and wrinkles that don't change fit. Use dodge and burn lightly to even lighting.
- Upscale when the source is sharp but small: Do it last, after masking and color correction, then compare the result with the original at 100%.
- Reshoot when capture is soft: Upscaling can't recover weave, stitching, or print detail that the sensor never recorded.
Watch upscaled files closely. AI enlargement can invent stitching, smear a print into plausible noise, or turn knit texture into plastic. Put the original and upscaled versions side by side at 100% and reject any detail that wasn't in the source.
Don't retouch away evidence. Weave, pilling, seam lines, and hardware show construction and material. Smoothing them out makes a garment look better than it is, and shoppers find out on delivery. Keep retouching at the same level across a SKU family so variants don't look like different products.
I would write the retouch level into your spec once, with an approved example file. That single reference prevents drift when different editors touch the same catalog. Channel requirements vary too, and our breakdown of product images for Amazon shows how one marketplace sets its bar.
Batch Edits and Export Presets for Every Channel
Exporting one oversized master everywhere slows pages down, while shrinking files carelessly erases texture. One industry summary of ecommerce image performance cites Google's good 75th-percentile Core Web Vitals targets as LCP no more than 2.5 seconds, INP below 200 milliseconds, and CLS no more than 0.1. Keep the master, then export derivatives sized for each destination.
| Channel | Size | Format | Check before publishing |
|---|---|---|---|
| Thumbnail or product grid | 300 to 400 px | JPEG or WebP | Product stays centered and readable at small size |
| Category listing | 600 to 800 px | JPEG or WebP | Crop matches the rest of the SKU family |
| Product page hero | 1,500 to 2,000 px longest side | JPEG or WebP, sRGB | Detail holds at 100% zoom on the live page |
| Marketplace main image | 2,000 px longest side | JPEG, sRGB | Pure white background and no added text or badges |
| Instagram feed | 4:5 crop | JPEG, sRGB | Subject centered with clear color on mobile |
| Vertical story or ad | 9:16 crop | JPEG, sRGB | Key product clear of the top and bottom interface areas |
Running the Batch
Build one preset per lighting setup, not one per product. Items shot under the same lights need the same white balance, exposure, and color correction, so the preset stays valid across the set. Run it on a small group first, spot-check one in ten at 100%, then process the rest.
Source handling matters before generation. When adding clothes, use Extract mode when the item is worn by a model to get a clean packshot, and Use as is when the image is already a clean product shot. Inspect each derivative at its intended display size and verify color, cropping, and compression artifacts on the actual storefront, not only in your editor.
Add naming and alt text to the routine, not as an afterthought. Name exports by SKU, variant, and channel, and write one alt text line naming the product, color, material, and one visible feature. The same spec serves search, screen readers, and marketplace feeds.
We store uploaded people, garments, and generated results in your workspace for reuse in future shoots, so approved assets stay available. Recheck live catalog images on a regular schedule, because a preset that worked last season can drift when lighting or devices change.
Start a Small Automated Pilot This Week
Automate repeatable steps. Keep judgement manual. The stakes justify the caution, since in 2025 42% of consumers said they would abandon a cart when a product detail page had no or low-quality images or videos, according to Salsify's 2025 Consumer Research Report.
This review step is where automation should pause for a human decision.
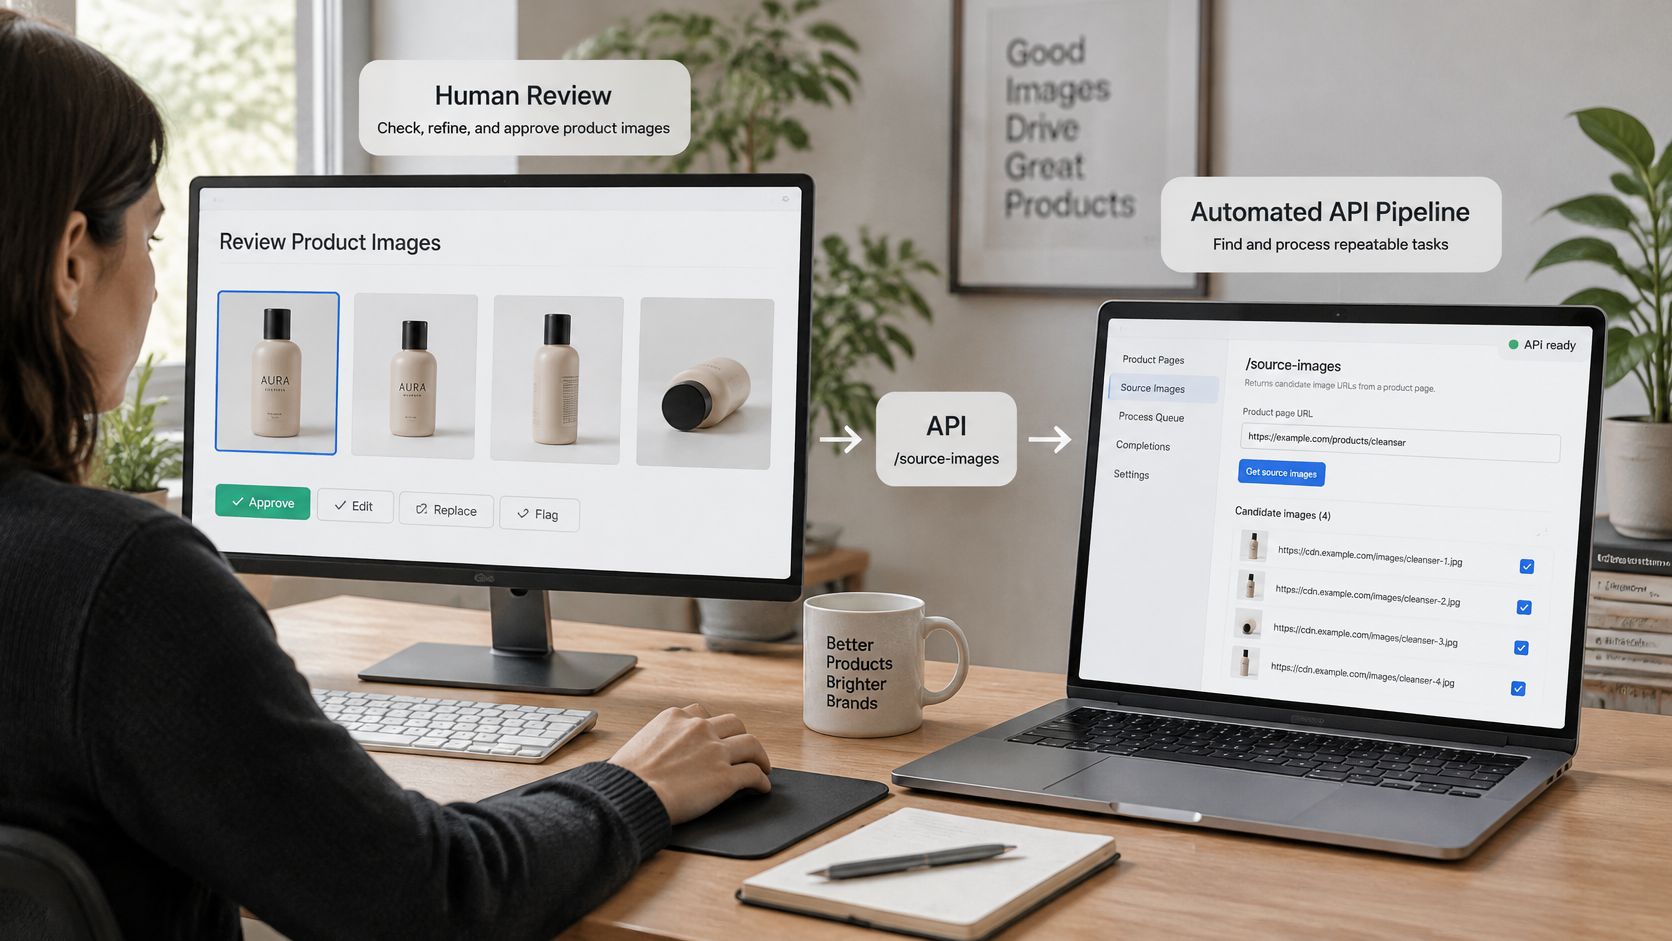
For product pages, first call POST /api/v1/clothes/source-images to list candidate image URLs, choose one imageUrl, then submit it to POST /api/v1/clothes so the garment enters your library. For edits, send exactly one source per request, either imageUrl, jobId, or clothId, plus one clear edit prompt, and log that prompt with the output. Set saveAsClothes to true only when the edited result should become a reusable library item, since the default is false.
Watch a full edit request run before you wire up your own pipeline.
Our notes on product photography automation explain where that pipeline fits a larger catalog.
- Pick 10 to 20 SKUs in one channel.
- Apply your written spec to every file.
- Run the batch and log each prompt.
- Review every result for identity, garment features, and color against the physical sample.
- Expand only when rejections stay low.
Start with 10 SKUs, one channel, and a human check on every file. Scale the steps that pass, not the whole workflow at once.
Knowing how to edit product photos is easier when importing, editing, and exporting live in one workspace, so try Vtry AI to turn a product URL into an editable garment and refine results with simple prompts like change the coat to navy. Run your first 10-SKU pilot this week, review every file against the physical garment, and scale only what passes.